Feeding Roots in Winter: A Friendly Guide to Urea and Nitrate Nitrogen
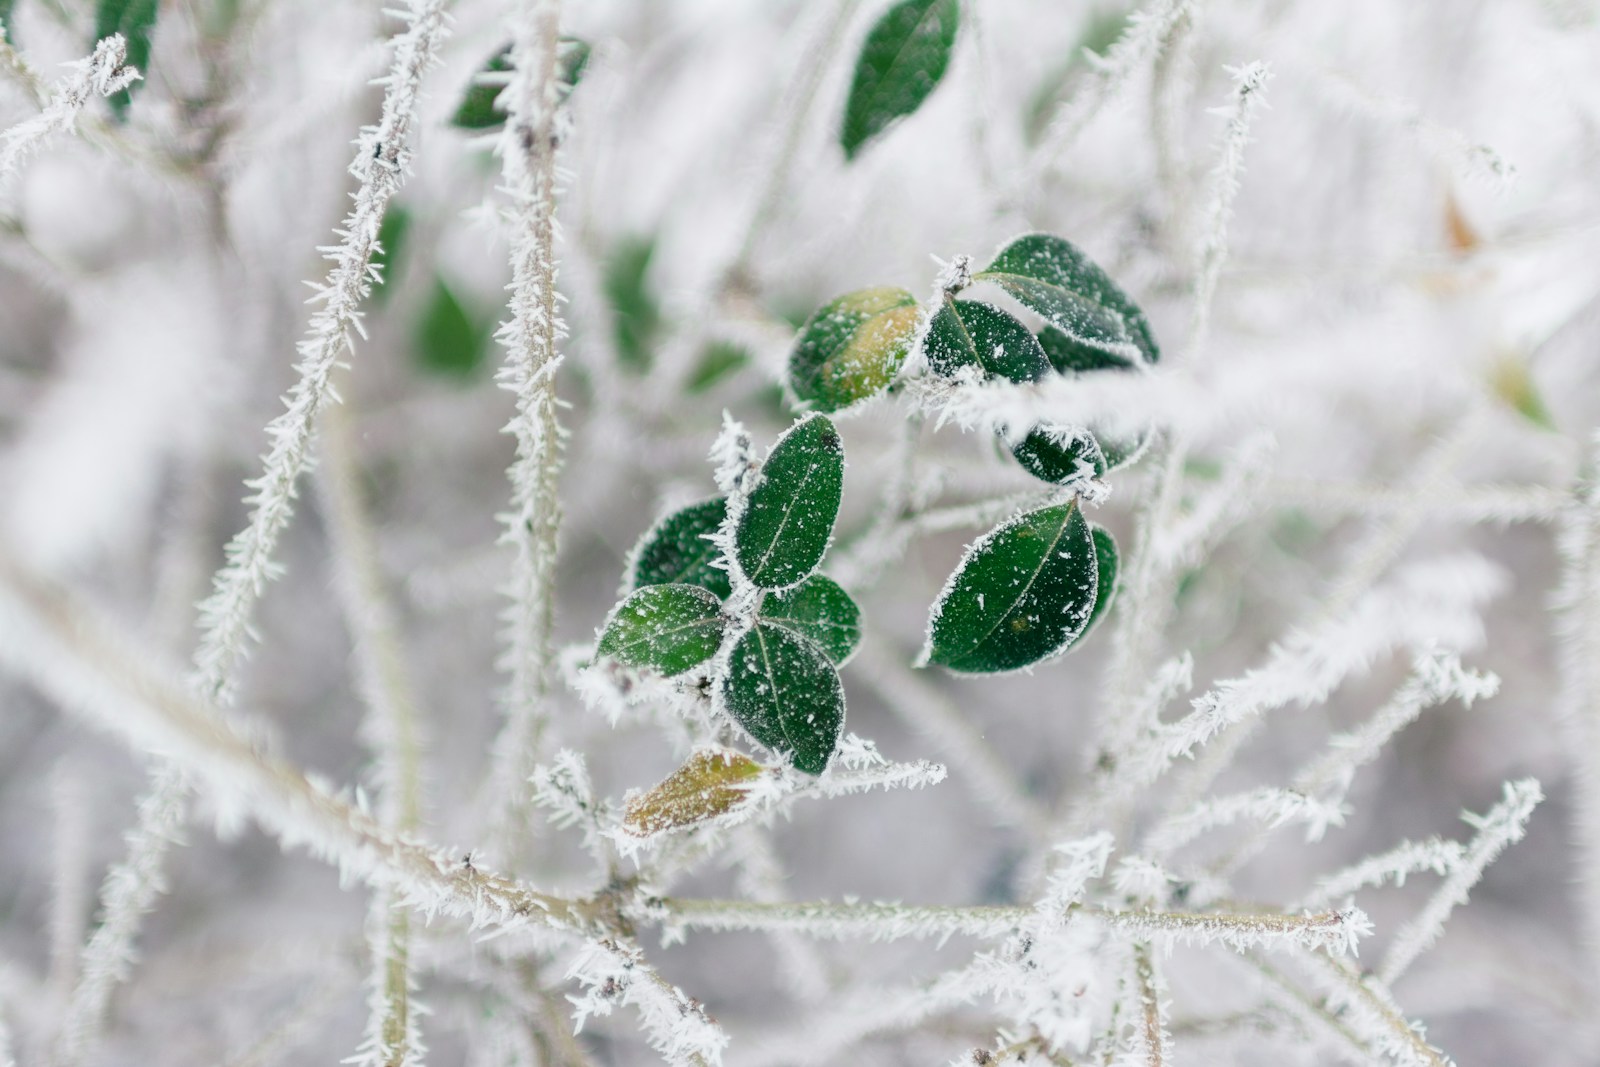
Winter hushes the garden. Frost mutes footsteps. Dormant branches trace still patterns against a gray sky. Yet beneath that calm, roots, microbes, and nutrients keep moving—just more slowly. Many of us wonder, Can plants really eat when it’s cold? And if so, which nitrogen form—urea or nitrate—works best?
Let’s unravel that puzzle together. You and I will walk through simple science, real-life examples, and practical steps so you can make smart, earth-friendly choices the next time cold winds blow.
Why Nitrogen Matters Even in the Off-Season
Nitrogen is plant protein. It powers chlorophyll, fuels cell growth, and launches every new leaf and bud. Without steady access, growth stalls and colors fade. In warm seasons, supplying nitrogen feels easy. In winter, it gets tricky, but the need never truly disappears—especially for evergreens, cool-season turf, and greenhouse crops.
Two dominant forms stand ready on the fertilizer shelf:
- Urea (CO(NH₂)₂) – Tiny pellets that promise big nitrogen once microbes get involved.
- Nitrate (NO₃⁻) – Already soluble, already plant-ready, but quick to move with water.
Both can help. Both can harm if misused. Understanding how cold soil changes their behavior is the key.
The Urea Story: A Two-Step Dance That Slows in the Cold
- Hydrolysis – Soil enzymes called urease split urea into ammonium (NH₄⁺) and carbon dioxide.
- Nitrification – Special bacteria convert ammonium into nitrate, the form roots prefer.
Each step needs warmth and active microbes. Below 50 °F (10 °C), hydrolysis drags. Below 40 °F (4 °C), nitrification crawls. If soil stays frozen or saturated, everything nearly stops. Urea then lingers unused, risking loss by leaching or volatilization before spring even arrives.
In other words, urea is powerful but impatient with cold.
The Nitrate Story: Ready When Roots Say “Go”
Nitrate enters soil water already in the form roots can sip. It bypasses urease, skirts nitrifying microbes, and heads straight for xylem highways. That speed is a gift when temperatures sit in the chilly 40s—an environment where roots can still function on sunny days, even if microbes yawn.
But nitrate’s speed comes with risk. The same mobility that lets it reach active roots can flush it past them during heavy rain or snowmelt. Good stewardship keeps that from happening.
Soil Temperature: The Hidden Thermostat
Air can tease us with warmth while soil holds the cold. A soil thermometer ends guesswork. Slip the probe four inches deep:
- Below 40 °F (4 °C) – Microbes snooze, roots sip lightly. Urea sits while nitrate works.
- 40–50 °F (4–10 °C) – Roots begin to sip lightly and microbes slow down. Nitrate works; urea stalls.
- Above 50 °F (10 °C) – Microbial engines roar to life and nitrification of urea ramps up. Both nitrate and urea can serve plants well.
Checking every few days beats staring at the sky.
Different Plants, Different Winter Habits
Evergreens
Pines, hollies, and many conifers keep photosynthesizing whenever sun and temperature allow. They need a gentle trickle of nitrogen all year. Nitrate meets that need as soon as soil hits the mid-40s.
Deciduous Trees and Shrubs
Maples, oaks, hydrangeas, and roses drop their leaves. Roots slow to a crawl. Feeding them before buds swell wastes product and can trigger tender growth that late frosts kill. Wait until soil tops 50 °F and buds plump.
Cool-Season Turf
Kentucky bluegrass, ryegrass, and fescue green up in fall and early spring. Light nitrate doses during mild winter spells spur color, but split applications keep leaching low.
Greenhouse Crops
Warm beds rewrite the rulebook. Heated soil lets microbes break down urea quickly, while nitrate performs as usual. Choose whichever fits your nutrient recipe.
Urea vs. Nitrate at a Glance
| Feature | Urea | Nitrate |
|---|---|---|
| Needs microbial conversion? | Yes | No |
| Works under 45 °F soil? | Poorly | Fair (roots permitting) |
| Volatilizes into air? | Yes, if left on surface | No |
| Leaching risk | Moderate after conversion | High if over-applied |
| Speed of plant response | Slow in cold | Quick in cold |
| Typical cost per pound of N | Lower | Slightly higher |
Speed favors nitrate; economy often favors urea. Good timing lets us enjoy both.
Practical Ways to Use Urea Wisely
- Wait for Early Spring – Apply when soil warms past 50 °F and plants reach for light.
- Consider Slow-Release Coatings – Polymer-coated urea protects nitrogen until microbes wake.
- Water Lightly After Spreading – Enough to dissolve granules, not flood.
- Incorporate or Band – Mix urea into topsoil or tuck it near root zones to cut ammonia loss.
- Skip Frozen Surfaces – Spreading on ice or crusted snow leads to runoff at thaw.
Smart Strategies for Winter Nitrate
- Time Tiny Doses to Mild Spells – A brief thaw plus nitrate equals quick green without waste.
- Split Applications – Several light feedings beat one heavy hit, especially on sloped ground.
- Band, Dribble, or Inject – Place nitrate close to roots. Broadcast only on level turf.
- Buffer Strips and Mulch – Grass or compost edges slow runoff and protect waterways.
- Pair With Potassium – Potassium nitrate supplies K that helps cold-stressed cells stay firm.
Common Winter Nitrogen Myths
“A big fall dose feeds all winter.”
Truth: Most of it escapes before plants can use it.
“Snow locks fertilizer in place.”
Truth: Melting snow turns to moving water that carries nitrate downhill.
“Evergreens want heavy winter nitrogen.”
Truth: They need only a light trickle. Too much salts the soil and burns roots.
“Urea is useless once temps dip.”
Truth: Urea can work whenever soil warms above 50 °F—sometimes that happens in late February.
Troubleshooting Table
| Problem | Likely Cause | Quick Fix |
|---|---|---|
| Yellowing evergreens in late winter | Nitrogen shortage + soil still cold | Light nitrate drench once soil hits mid-40s |
| Ammonia odor after spreading | Surface urea volatilizing | Water immediately or switch to nitrate |
| Patchy green turf after thaw | Uneven broadcast | Reset spreader, apply cross-wise passes |
| Soft stems on greenhouse lettuce | Excess nitrate + low light | Cut concentration, extend light hours |
| Weak bloom set on fruit trees | Winter leaching from heavy fall feed | Shift nitrogen to pre-bloom split doses |
Real-World Scenarios
The Snow-Bordered Hedge
A row of arborvitae guards the driveway. Soil probes read 38 °F in early January. You wait. Mid-February sunshine raises soil to 46 °F for five days. You drench with a dilute calcium ammonium nitrate solution. Needles brighten, and runoff stays low.
The Dormant Orchard
Apple leaves dropped by Halloween. November soils are 42 °F. You apply compost, skip synthetic nitrogen. In March, soil warms to 55 °F, buds swell. You broadcast urea, rake lightly, and water. Strong bloom follows.
The Cool-Season Lawn
Fescue stays green through mild winters. You spoon-feed ammonium nitrate: one-third the normal spring rate in December, another one-third in early March. Turf stays lush. No snow mold appears.
The Heated Hoop House
Beds hover at 65 °F. You blend potassium nitrate into weekly fertigation. Lettuce stays crisp; tomatoes set fruit even while snow drifts outside.
Step-By-Step Winter Nitrogen Plan
- Map Your Plants – Note which stay active, which sleep.
- Take Soil Temperature Weekly – Four-inch depth gives the truth.
- Choose Nitrogen Form – Nitrate for cold activity, urea for warming soil.
- Schedule Split Feedings – Small, timed doses reduce loss.
- Watch Weather and Water – Avoid heavy rain; irrigate lightly after dry spreads.
- Record Everything – Dates, temps, rates, plant response. Patterns guide next season.
Caring for Earth While Feeding Roots
Nitrogen is precious. Every pound kept in your soil—and out of creeks—protects ecosystems. Simple habits accomplish huge things:
- Cover Crops – Winter rye or crimson clover trap stray nitrate and add biomass.
- Mulch Blankets – Compost layers insulate microbes and slow leaching.
- Buffer Strips – Native grasses along ditches sip runaway nutrients.
- Soil Tests – Knowing baseline nitrogen prevents blind guessing.
After more than a few winters of mindful feeding, waterways clear, soil grows richer, and gardens thrive.
Bringing It All Together
Urea and nitrate are not rivals; they’re teammates with different game plans. Urea excels when microbes hum and warmth returns. Nitrate shines when roots need quick food during chilly spells. By reading soil temperature, splitting doses, and matching form to plant rhythm, we feed wisely, waste less, and protect the world beyond our fence.
May your soil thermometer become a trusted friend, your mulch a cozy quilt for microbes, and your winter garden a quiet workshop of life. As frost sparkles and days lengthen, you and I can smile, knowing roots are ready to leap into spring—nourished, not neglected, even in the hush of winter.