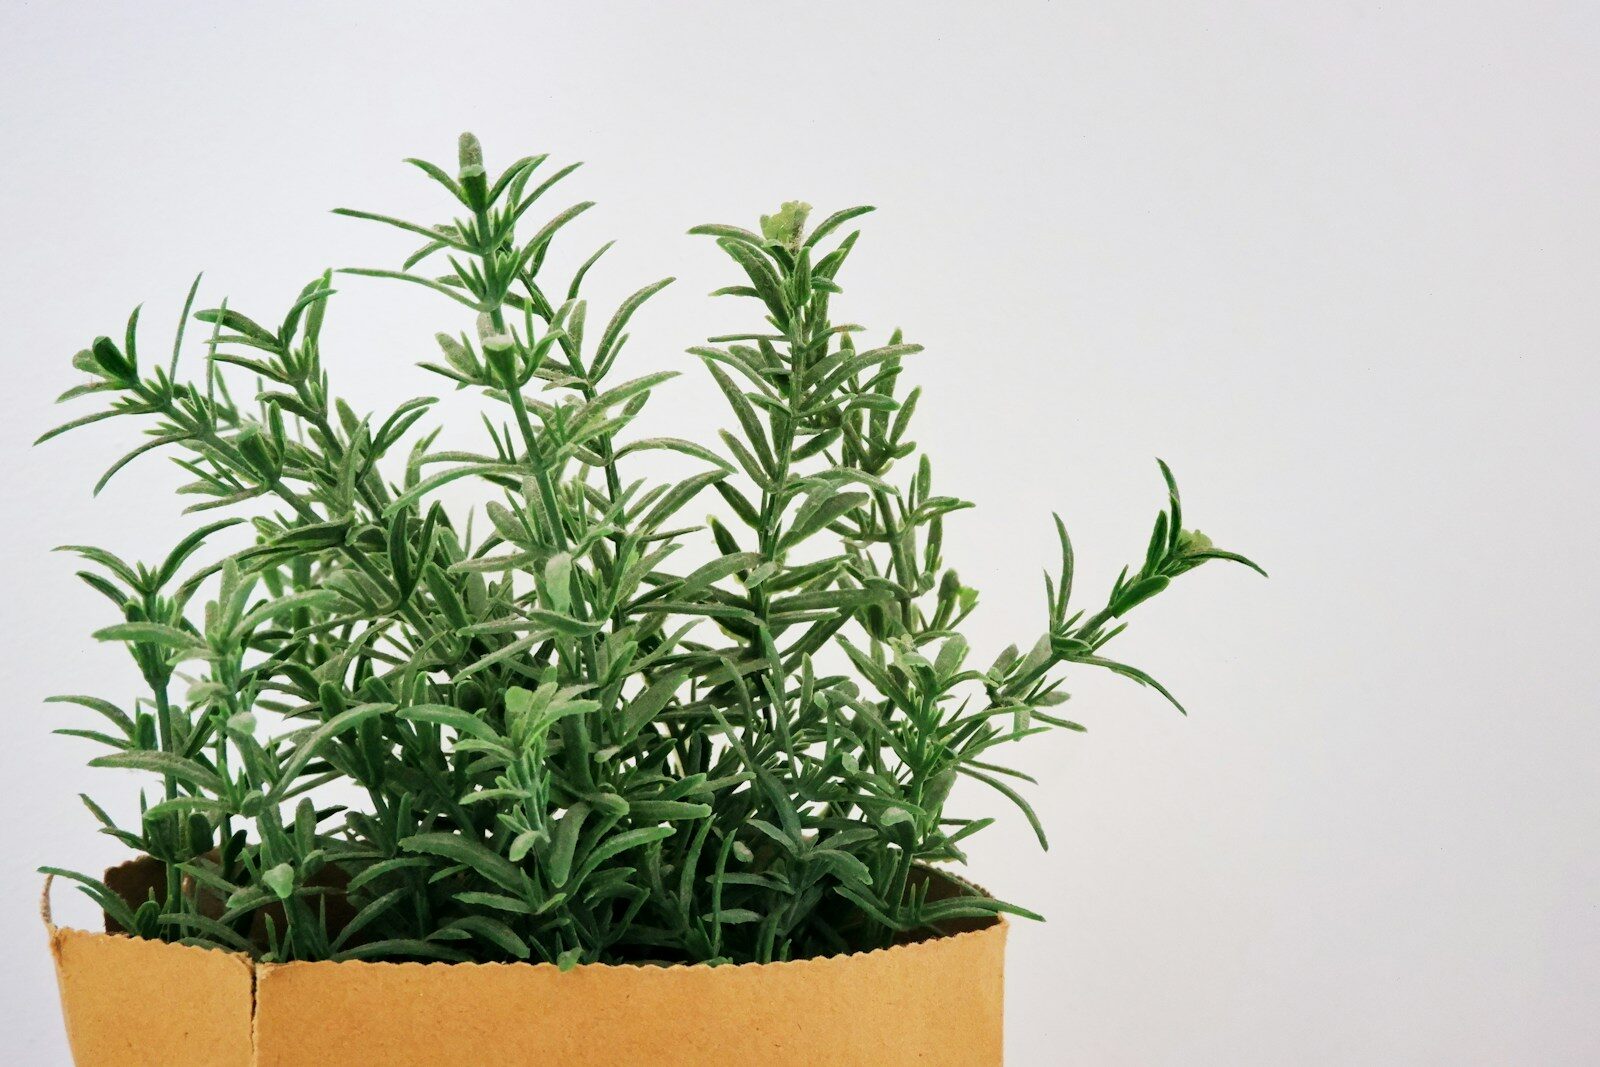
Keeping Rosemary Alive Through Alabama Heat and Humidity
A practical Alabama guide to drainage, pruning, watering, and winter care for healthy rosemary plants.

A practical Alabama guide to drainage, pruning, watering, and winter care for healthy rosemary plants.
Balance air, moisture, carbon, and nitrogen to turn Alabama yard and kitchen waste into finished compost.
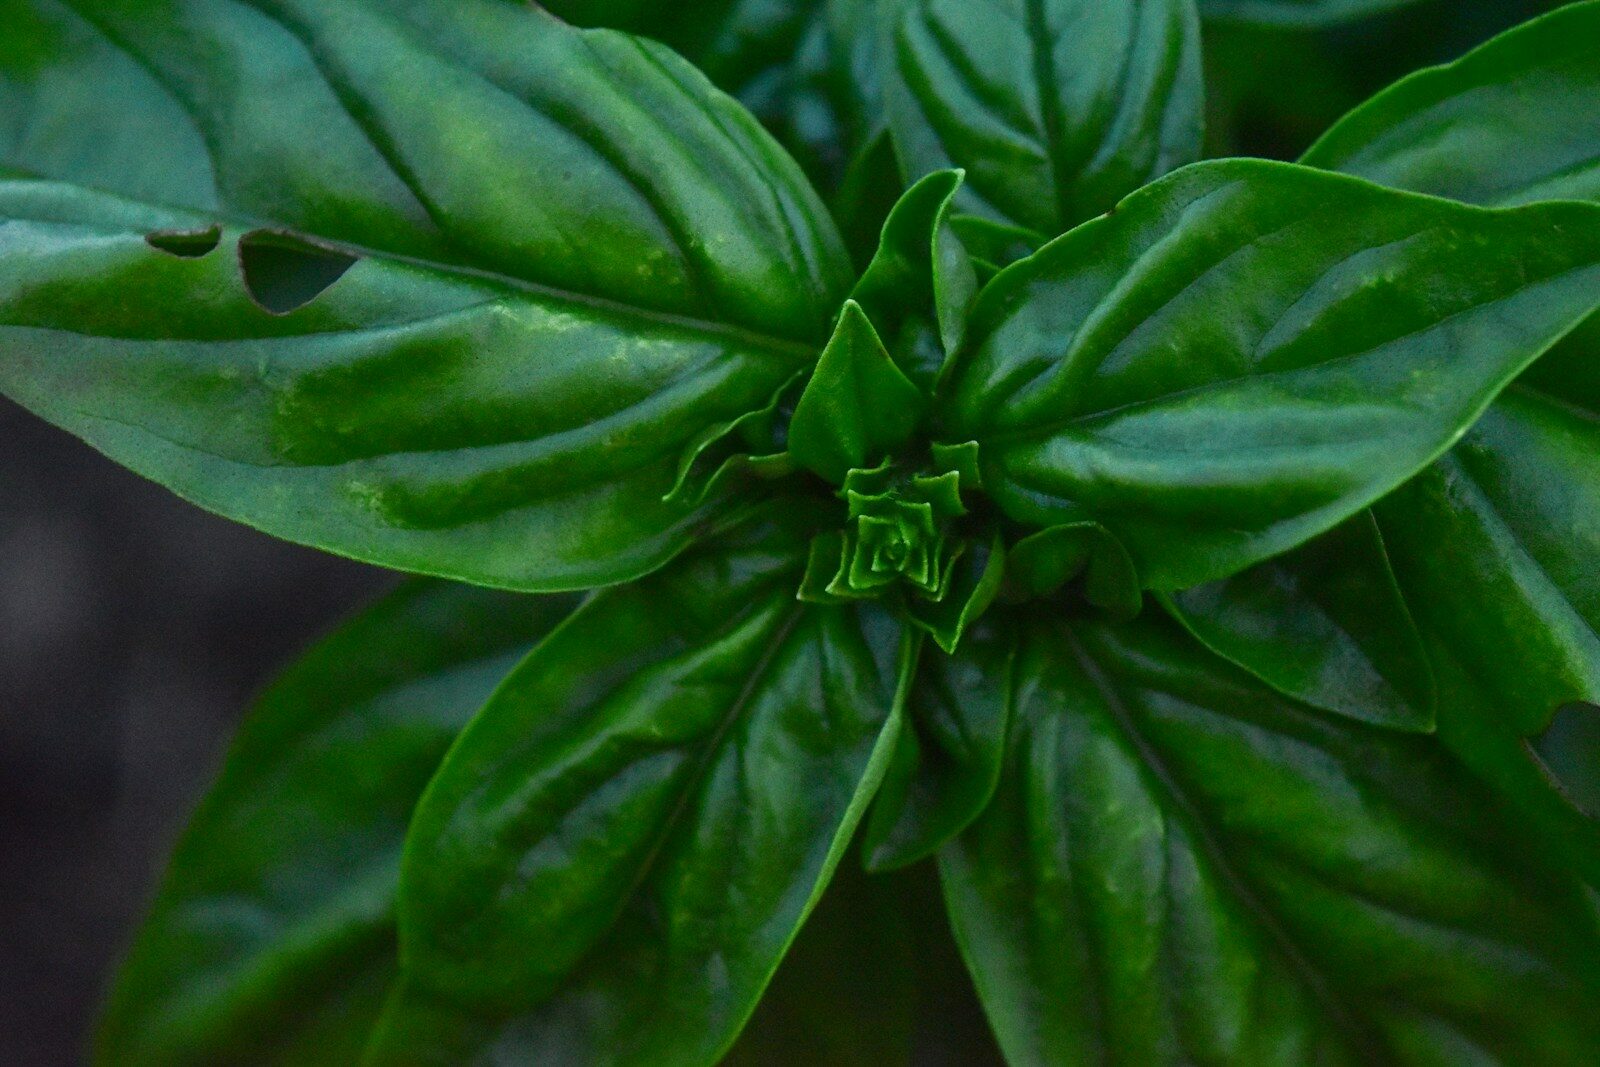
Basil is a soft green snack in a hard world. We plant it for pesto and pizza, and the yard critters plant it for lunch.
The tricky part is this: different pests leave different “bite marks.” If we read the leaf like a little crime scene, we can catch the culprit fast and fix it without turning the garden into a chemistry set.
Let’s walk through the most common basil “eaters,” what their damage looks like, and what we can do today.
Before we spray anything, we look.
Here are the main damage patterns:
Each pattern points to a different pest. That saves time and saves basil.
Clue: Ragged holes, often low on the plant. Sometimes the leaf looks shredded.
Bonus clue: A shiny slime trail like someone dragged a wet shoelace across the soil.
Slugs don’t chew in the heat of the day. They work the late shift.
What we do:
Clue: Larger holes, sometimes whole chunks missing.
Dead giveaway: Tiny dark droppings on leaves or soil, like pepper flakes.
On basil, we often see loopers, armyworms, or other hungry larvae. They hide under leaves and chew from the edges inward.
What we do:
Clue: Lots of tiny holes, like the leaf got hit with birdshot.
Extra clue: If we tap the plant, tiny dark beetles may hop like fleas.
These pests love young plants. They can turn baby basil into Swiss cheese.
What we do:
Clue: Rough, uneven bites, often on new growth. Damage shows up overnight.
Earwigs hide in damp spots and come out when it’s cool.
What we do:
Clue: Leaves curl, wrinkle, or look weak.
Big clue: Sticky stuff (honeydew) and sometimes ants “farming” the plant.
Aphids don’t usually leave big holes. They suck sap. The plant looks tired, and the new leaves can twist up.
What we do:
Clue: Big chunks missing, torn edges, damage can happen fast.
These guys chew like they mean it. They often work in daylight.
What we do:
Clue: Tops bitten off clean, like someone used garden snips.
Rabbits often leave a neat, angled cut. Deer can strip a plant quickly.
What we do:
Clue: Plant looks fine, then flops over at the base. Stem is chewed near soil level.
These are sneaky and mean. They work at night.
What we do:
We catch most basil pests with one habit:
Look early in the morning or at dusk.
Midday, the chewers hide. We see damage but not the diner. A two-minute leaf check at the right time beats an hour of guessing.
Quick checks that work:
With basil, we want control that’s safe and simple. We start small and step up only if we need to.
One more practical note: if we do spray anything on an herb, we follow the label and respect the harvest window. Basil is food, not wallpaper.
Basil is easiest to protect when it’s growing strong.
And here’s a quiet truth: a basil plant that’s a little toughened by sun and steady care often has better flavor and fewer pests. Soft and pampered looks nice, but it’s easy prey.
Sometimes we blame chewing, but the issue is stress.
If leaves are spotty, blackening, or melting without clear bite marks, we may be looking at:
In those cases, the fix is more about light, water rhythm, and airflow than pest control.
When basil gets eaten, we don’t panic. We play detective.
Then we respond with the smallest fix that works.
Basil grows fast. That’s the good news. Even when the yard takes a few samples, we can usually push the plant back into “dinner for us” mode in a week or two.
And if we lose a plant? We replant. That’s gardening. We don’t keep score. We just keep growing.
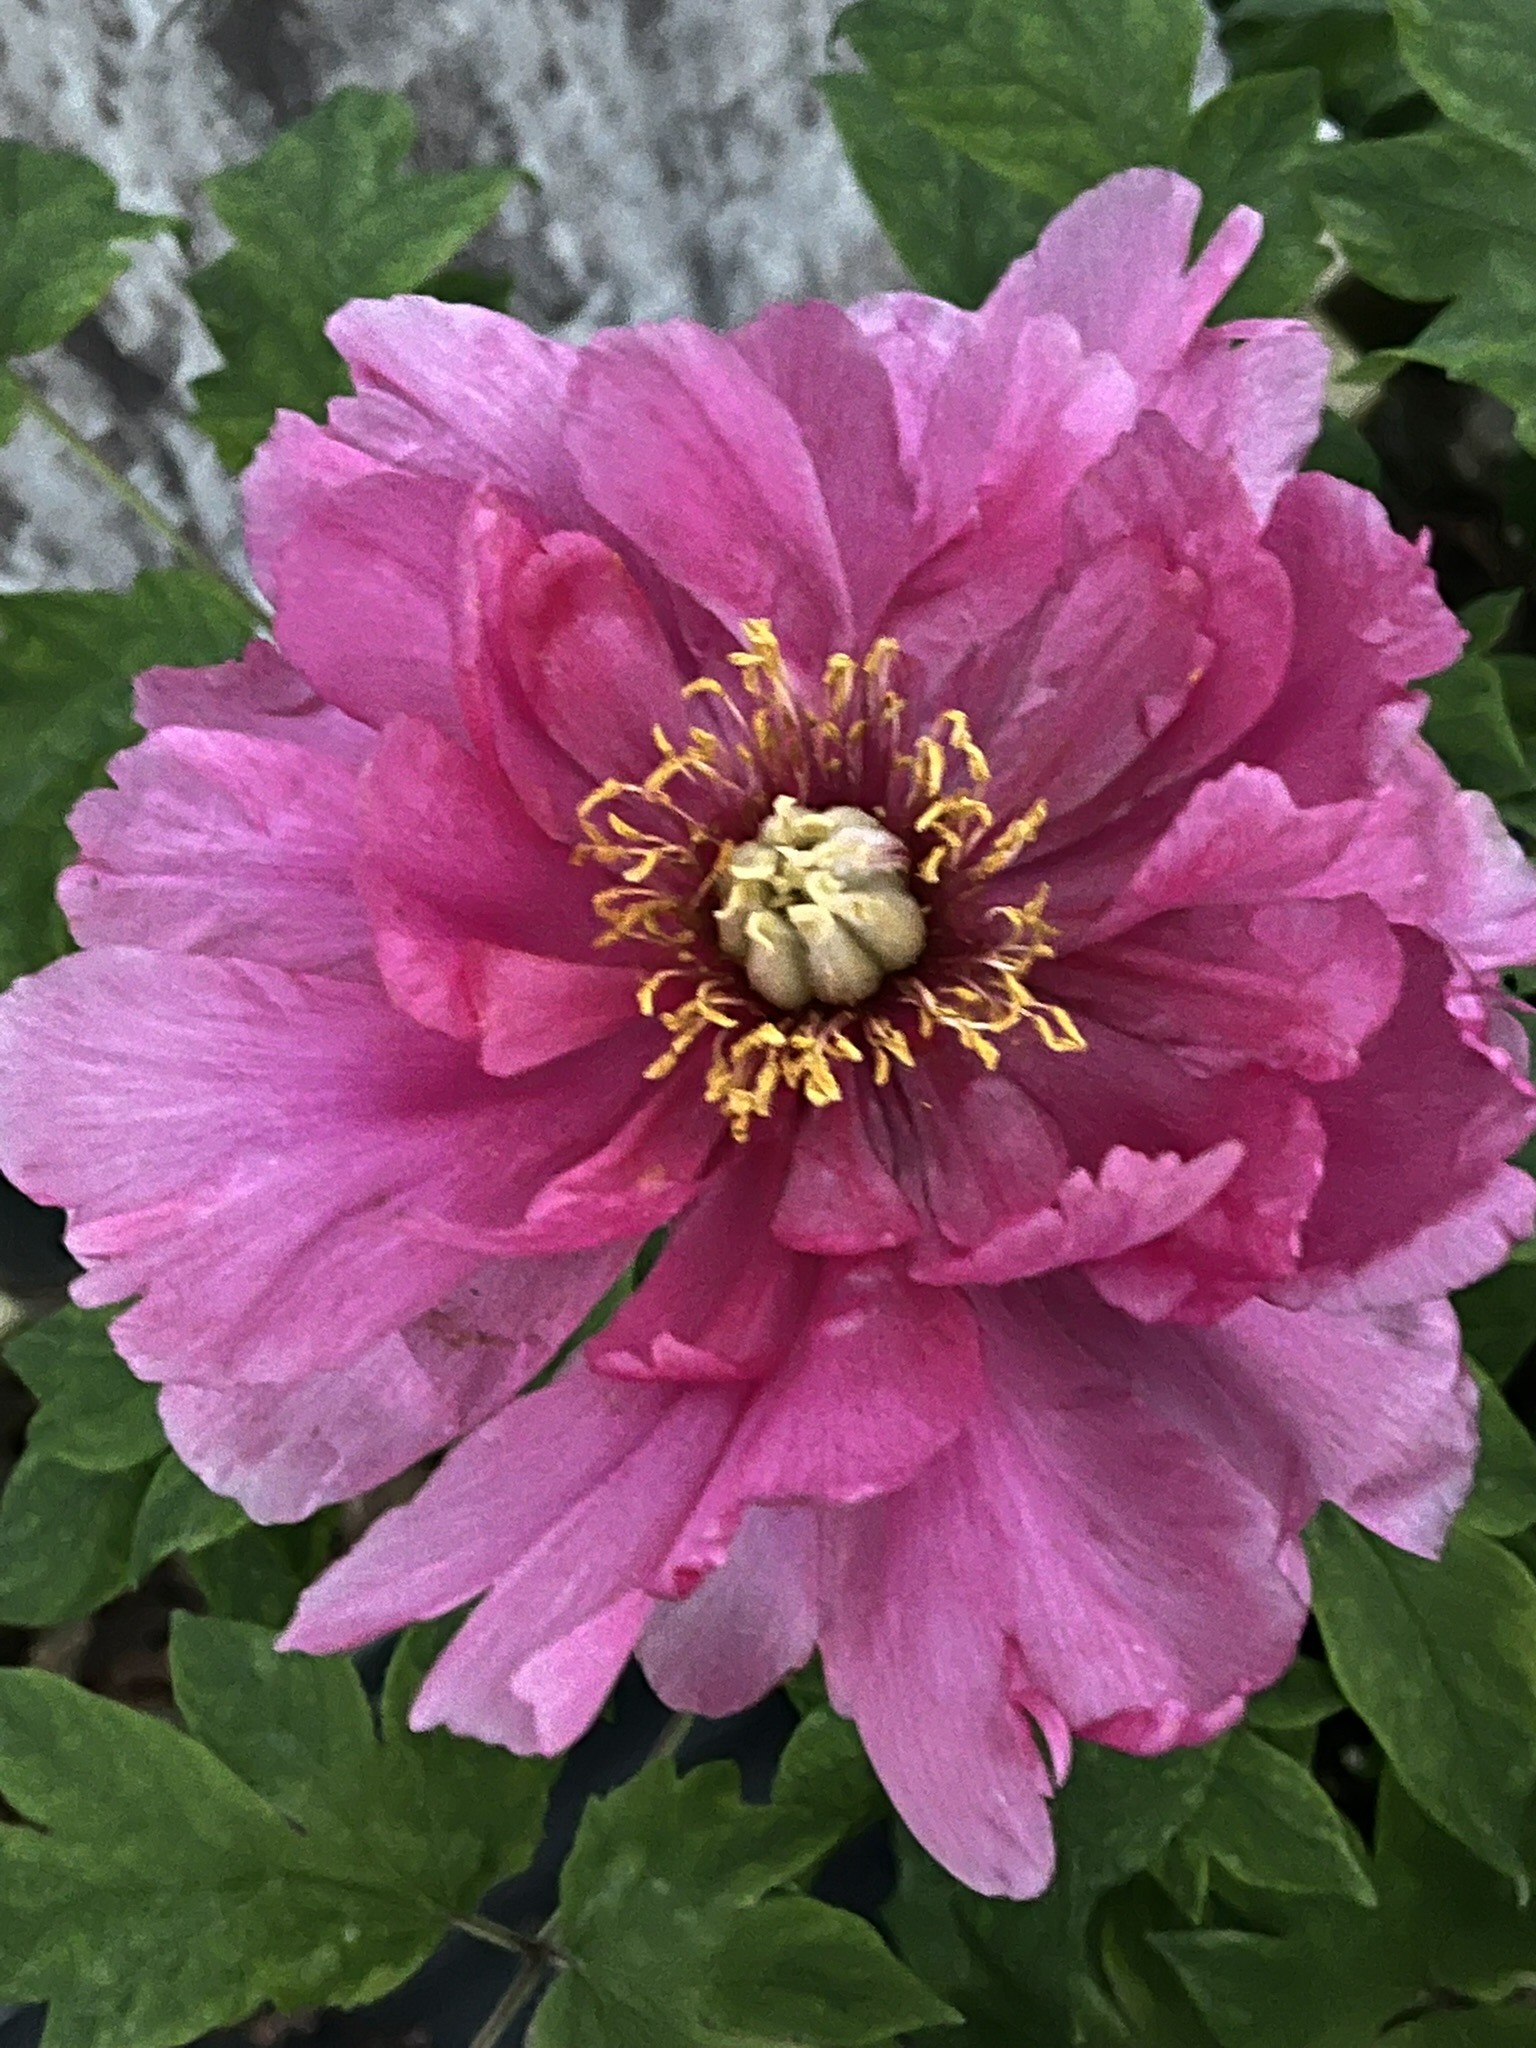
There’s a long-running belief that peonies and Alabama just don’t belong together. I understand why people say it. Peonies are famous for loving a real winter, and Alabama is famous for heat, humidity, and long summers that can wear out a gardener and a flower bed in equal measure.
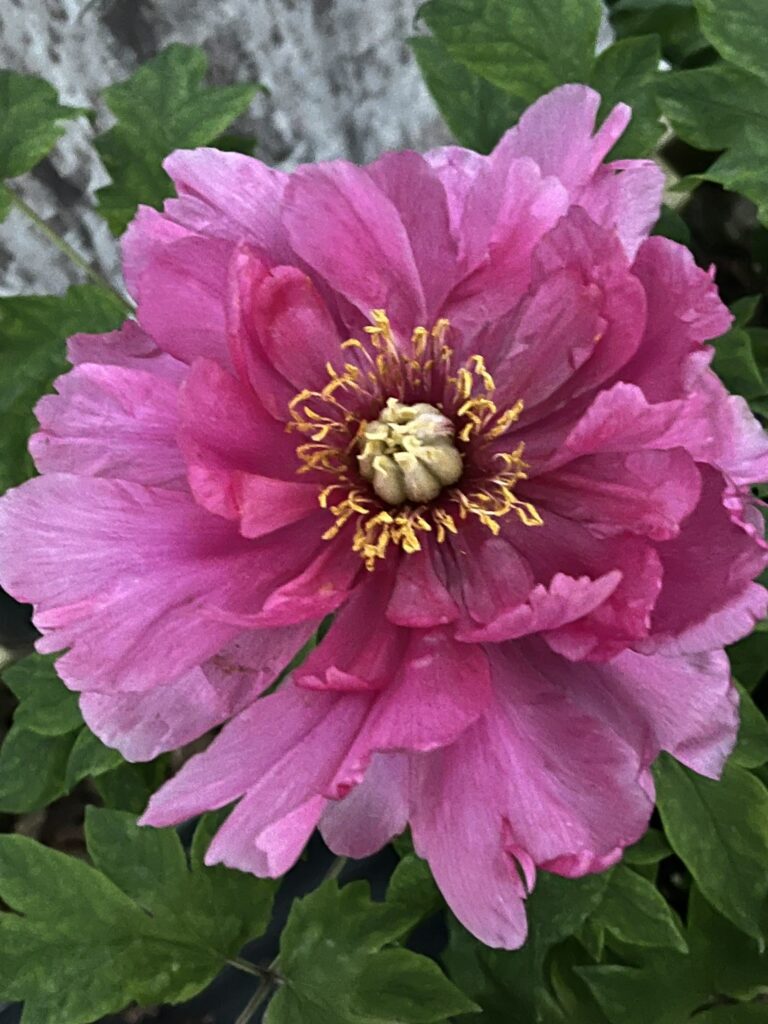
But here’s the truth from the ground level: peonies can be grown in Alabama. You just have to quit treating them like they’re in Iowa and start growing them like they’re in Alabama.
That means paying close attention to winter chill, drainage, planting depth, and variety selection. It also means being honest about where in the state you garden. A peony in north Alabama has a much easier path than one down near the coast. Still, even in the warmer parts of the state, I’ve seen gardeners pull off beautiful blooms by choosing the right spot and resisting the urge to over-love the plant.
One of the biggest mistakes gardeners make is talking about Alabama like it has one uniform growing condition. It doesn’t. Our state stretches across a pretty wide range of winter temperatures and summer intensity, and peonies notice that.
In the cooler parts of north Alabama, peonies have a fighting chance to settle in and bloom with some consistency. In central Alabama, success often depends on variety and siting. In the southern end of the state, especially where winters stay mild, peonies become more of a specialty plant. They may survive just fine, but blooming can be inconsistent if they don’t get enough winter chill.
That’s the heart of the matter. Peonies need dormancy. They need that seasonal reset. If they don’t get it, you may still get foliage, but the flowers can be sparse, weak, or absent.
So no, I would not tell every Alabama gardener to rush out and plant ten peonies. But I absolutely would tell a careful gardener to try them, especially if they’re willing to match the plant to the site instead of forcing the site to fit the plant.
If you’re gardening in Alabama, I would lean toward reliable, tough herbaceous peonies first, and I would be picky. In warmer areas, low-chill selections matter. Itoh, or intersectional, peonies are also worth a look because they often bring stronger stems and excellent flower quality, though they’re usually more expensive.
I’m cautious with tree peonies for the average Alabama gardener. They can be stunning, no doubt about it, but they are not where I’d tell most folks to start if they’re just trying to get a dependable peony established in our climate.
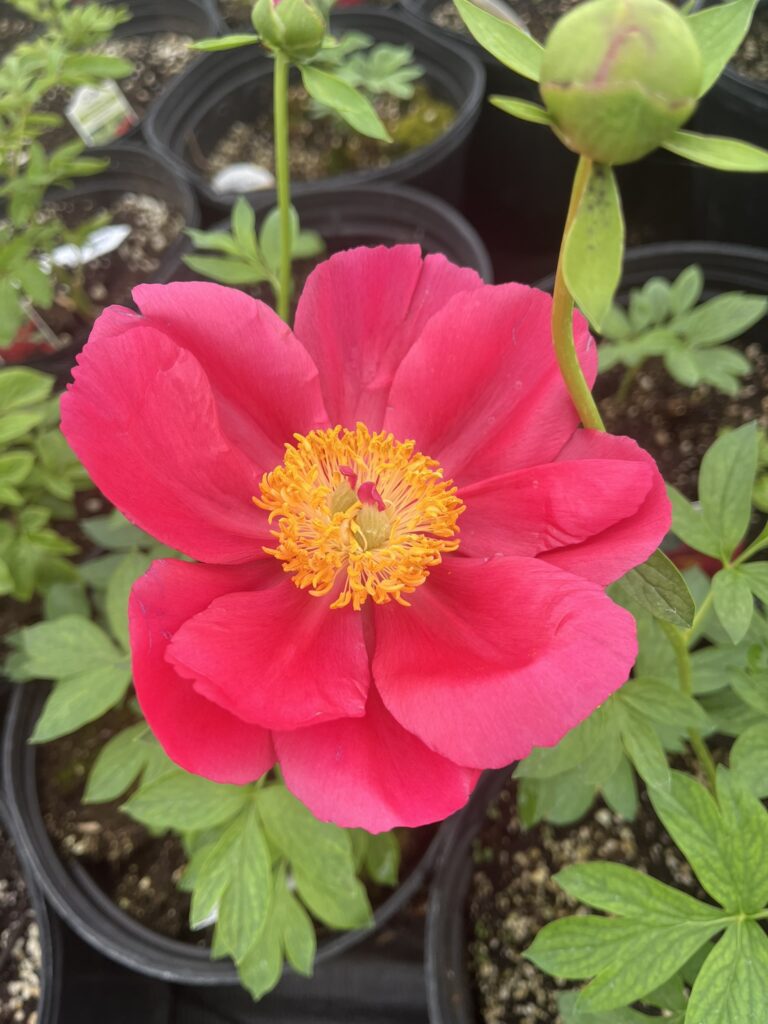
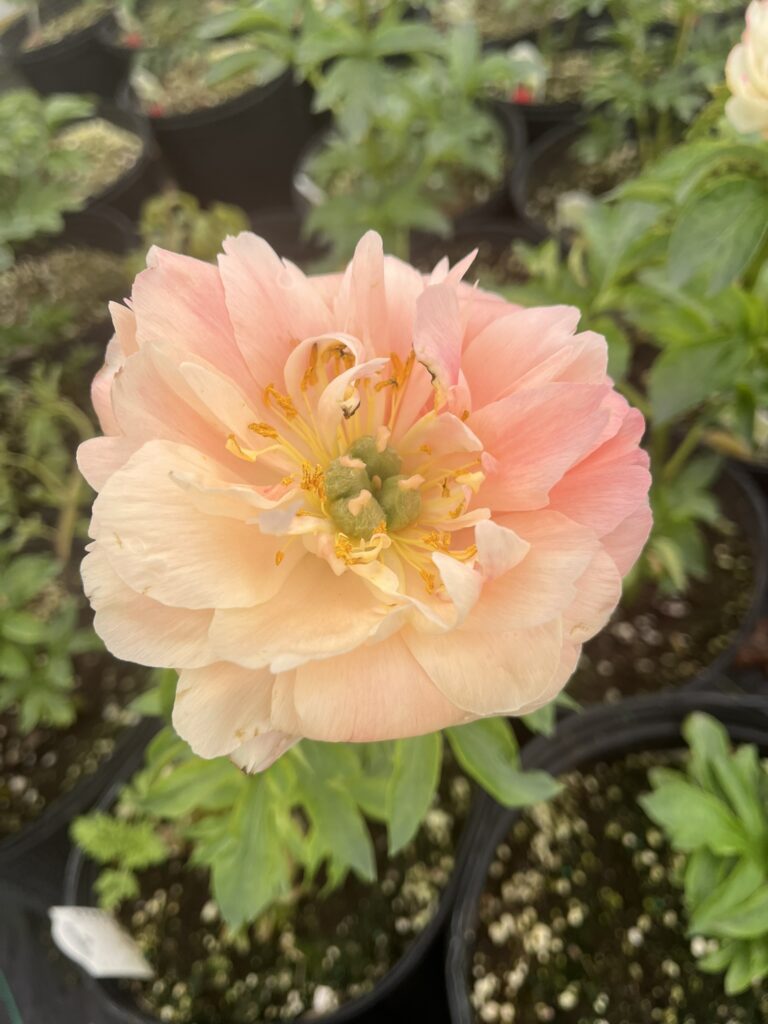
In a warm Southern garden, simpler flowers often hold up better too. Huge, overstuffed double blooms can be gorgeous, but they can also flop after a spring rain or look rough faster in heat. Singles, semi-doubles, and sturdy mid-sized doubles are often the wiser choice here.
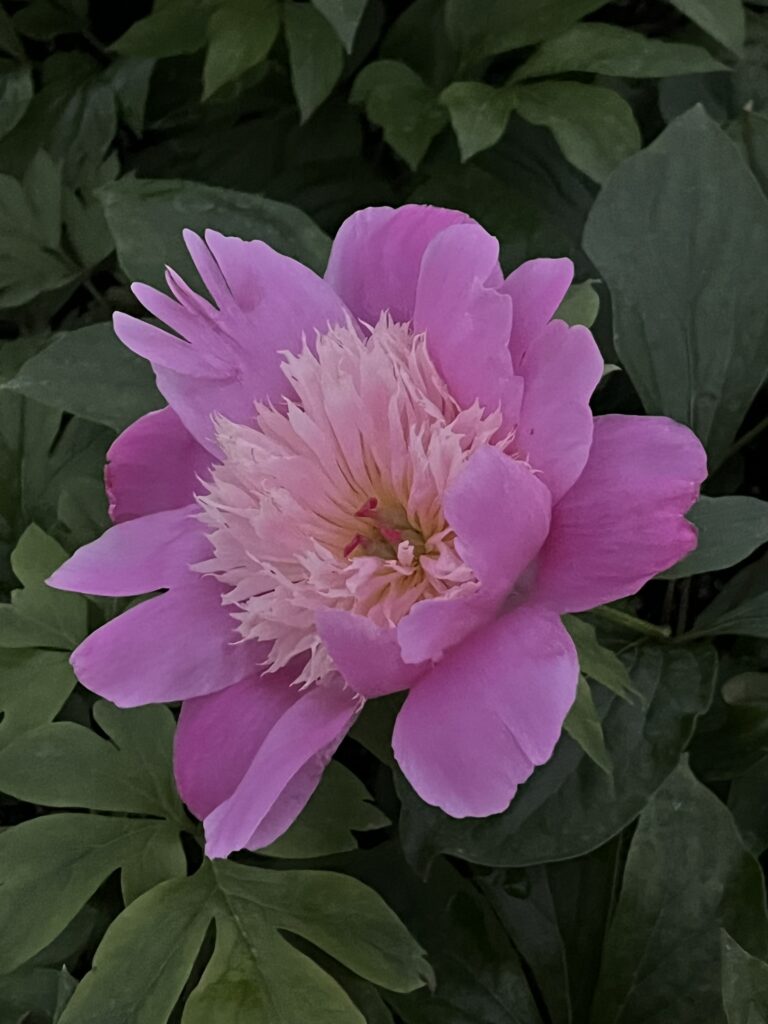
This is one of those rules I don’t like to bend. Plant peonies in fall.
That’s when they want to make roots. Fall planting gives them time to settle in before they face an Alabama summer, which is really the season that separates a well-rooted plant from a struggling one. Spring-planted peonies can survive, but they’re already behind, and in our climate that can matter.
Around here, I think of peony planting season as running from late September into October, sometimes a bit later depending on weather and location. The point is to get them in while the soil is still workable, but before winter slips by.
If there is one peony mistake I see over and over, it’s planting too deep.
In colder climates, gardeners can get away with burying the crown a bit more. In Alabama, that’s a recipe for a handsome green plant that refuses to flower. In our warmer conditions, the buds, or “eyes,” need to sit very close to the soil surface. In many Alabama gardens, about an inch deep is enough.
That feels wrong to a lot of people. We’re used to planting things down where they feel protected. But peonies are different. Bury them deep, pile mulch over the crown, and you can easily insulate them out of the chill they need.
So plant shallow. And when winter comes, don’t smother the crown with a thick blanket of mulch.
Peonies like sun, but Alabama sun is not the same as Northern sun. That’s why I like a site with strong morning light and some relief from the hottest late-afternoon blast, especially in central and south Alabama.
More important than that, though, is drainage.
Peonies hate wet feet. They will not reward you for planting them in a soggy bed, a heavy clay pocket that stays saturated, or a low place where water stands after a thunderstorm. If your soil is tight and sticky, I’d improve the bed before I ever bought the plant. Raised beds can help. So can adding organic matter and choosing a slightly elevated planting area.
Air movement matters too. Alabama humidity can sit on a planting like a wet towel. Good spacing and open air around the plant go a long way toward keeping the foliage cleaner.
A peony is not a petunia. It doesn’t need constant pushing.
Rich, well-prepared soil does most of the work. A light feeding as growth emerges in late winter or very early spring is usually enough. Too much nitrogen can leave you with lots of leafy growth and less bloom. That’s not what anybody plants a peony for.
I also think gardeners get in trouble by babying peonies with frequent watering. Newly planted peonies need steady moisture while they establish. After that, they’re tougher than people think. Water during dry spells, especially in bloom season, but don’t keep the bed wet all the time.
The flowers get all the attention, but foliage is where Alabama often shows who’s boss.
Our warm, humid conditions can encourage leaf blotch, powdery mildew, and botrytis problems, especially where plants are crowded, shaded, or watered from overhead late in the day. Once those diseases get started, the best fix is usually better culture, not panic.
That means cleaning up old foliage in fall. It means removing infected debris instead of letting it sit there. It means not planting peonies jammed up against a wall or in a still, shady corner where nothing dries out.
This is one of those places where a good gardener can make average conditions work. Sanitation and spacing matter.
A peony is not an instant-gratification perennial. Sometimes it takes a year or two after planting before it really begins to perform. That delay makes some gardeners think they’ve failed, when the plant is simply settling in.
When peonies are happy, though, they can stay put for years. That’s part of their charm. They are old-fashioned plants in the best sense of the phrase. They don’t want to be moved around every season. They want a good spot, a little patience, and enough winter to know when to wake up.
Would I recommend peonies in Alabama? Yes—but with conditions.
If you garden in north Alabama, I’d say go for it. In central Alabama, I’d say choose carefully and plant thoughtfully. In south Alabama, I’d say try them only if you’re willing to experiment and accept that bloom may be less dependable.
The gardeners who succeed with peonies here are usually the ones who keep it simple. They plant in fall. They plant shallow. They don’t drown the crown in mulch. They give the plant morning sun, good soil, and room to breathe.
That’s really the Alabama lesson with peonies. You don’t grow them by pretending our climate is something it isn’t. You grow them by understanding exactly where you are, then helping the plant meet you there.
And when a peony opens well in an Alabama garden, it feels earned. That may be one reason I like them so much here. They’re beautiful anywhere. But in Alabama, they also tell the truth about good gardening.
When folks ask for the “most flavorful” basil, they usually mean one of two things.
They mean the strongest classic basil taste. That sweet, green, peppery hit that makes tomatoes taste like summer.
Or they mean the boldest, loudest basil. The kind that walks into a hot pan and still gets heard.
So we’re going to be plain about it.
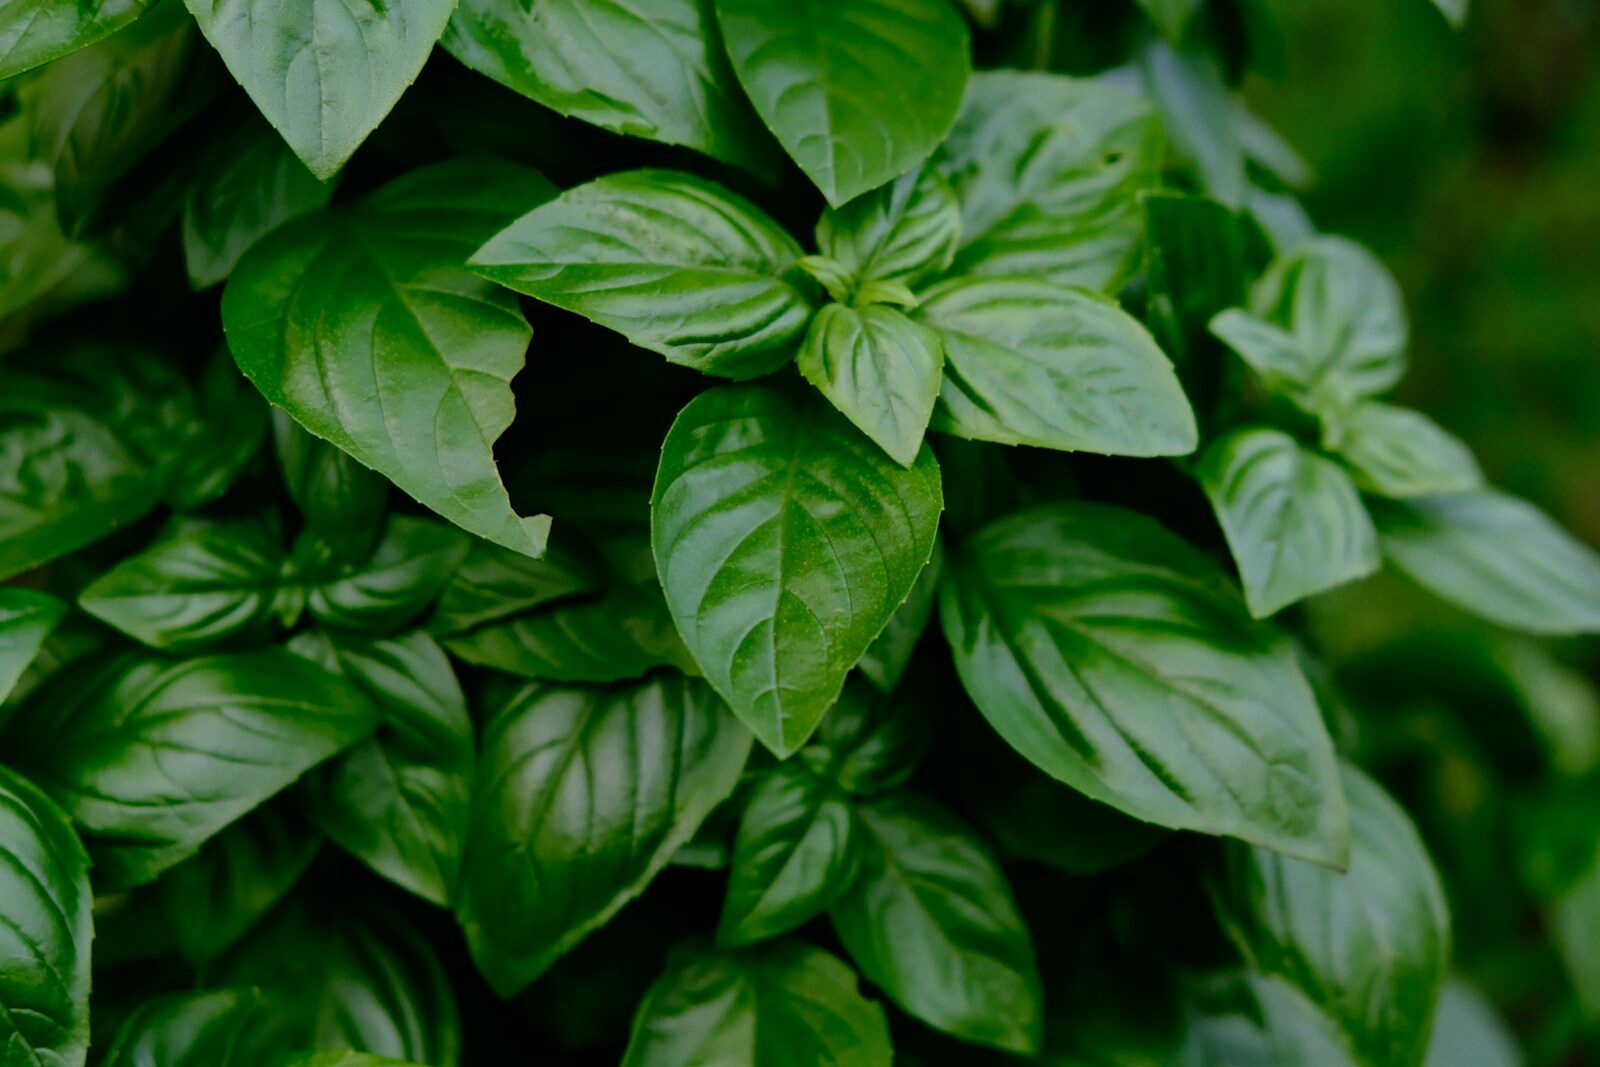
If we want the best, richest “basil basil” flavor for most kitchens, Genovese basil (Italian sweet basil) is the top pick.
If we want the most punchy, spicy, hard-to-miss basil, Thai basil often wins.
Both are great. They just shine in different places.
Genovese basil is the work boot of the basil world. It fits most jobs. It feels right in the hand. It smells like what we think basil should smell like.
This is the basil that makes:
The leaves are big, soft, and loaded with scent. When we tear a leaf, the smell jumps up fast. That is what most people mean by “flavor.”
Genovese also plays nice with other foods. It does not fight the garlic. It does not bully the cheese. It lifts the whole dish like a good harmony line.
If we only grow one basil for cooking, Genovese is the safe bet. It is the one we reach for most.
Basil flavor lives in tiny oils in the leaves. Those oils are strong in sweet basils, and Genovese is a classic sweet basil.
That flavor feels like:
It is not sharp like mint. It is not candy-like. It is balanced.
That balance is why it rules Italian food. When basil is the main voice, Genovese sings. When basil is just support, it still helps.
Now, if we mean “most flavorful” as in “most in-your-face,” Thai basil can steal the show.
Thai basil has a licorice-like note. Think anise. Think a sweet spice smell. It also holds up better in heat than most sweet basils.
So in a hot stir-fry, Genovese can fade fast. Thai basil can still stand tall.
Thai basil is at its best in:
Thai basil tastes less like an Italian garden and more like a spice rack that learned how to grow leaves.
Some folks love it right away. Some folks need a minute. Either way, it is not shy.
Holy basil, also called tulsi, is not the go-to for pesto. It is a different beast.
Its flavor can lean clove-like and peppery, sometimes with a hint of lemon or mint. It can feel “spicy” even when it is not hot.
Holy basil shines in:
If Thai basil is bold and sweet-spiced, holy basil is bold and warm-spiced.
It is a great plant to grow, even if it is not your main cooking basil.
Here’s the rule we use.
Trying to pick one “best” without the dish is like picking one “best tool” without the job. A hammer is perfect. Until you need a screwdriver.
Variety matters. But growing style matters too. We can buy the best basil on earth and still end up with weak leaves if we grow it sad.
Here’s how we boost flavor fast.
Basil wants bright light. Lots of it. More sun usually means more scent.
A basil plant in shade can grow soft and mild. A basil plant in sun grows tougher and louder.
Basil gets better when we pick it. Snip the tips. Pinch above a set of leaves. The plant branches out and makes more leaf.
More fresh growth means more kitchen-ready flavor.
Once basil starts to flower, it shifts energy from leaf to bloom. The leaves can get smaller and less sweet.
Pinch off flower spikes when they show up. Keep the plant in leaf mode.
Basil likes water, but it hates swamp feet. Water when the top inch is dry. Then water deep. Let extra drain out.
Too much water can wash out flavor and invite disease. Steady care beats panic watering.
If we want max scent, we pick in the morning after the plant has had a cool night. The leaves often smell strongest then.
If we want big flavor without overthinking it, we grow two basils.
That combo covers most kitchens. It also makes dinner feel like we planned ahead, even when we did not.
If there’s room for a third pot, holy basil is a fun add. It makes great tea. It also smells like something you’d find in an old apothecary, in a good way.
If we have to name one basil as “most flavorful” for the widest use, we pick Genovese basil.
It has the richest classic basil taste. It fits the most dishes. It makes simple food taste like it had a plan.
But we also keep Thai basil close by. When we want a stronger punch, it brings it.
So we plant Genovese for comfort. We plant Thai basil for spark. Then we cook like we mean it.
That’s the good life. Simple leaf. Big smell. Good meal.

Tomatoes will forgive a lot. Bad haircuts. Late staking. Even a little neglect.
But water? Water is the big lever.
Too little and the plant sulks, drops flowers, and makes small, tough fruit. Too much and it turns into a leafy teenager with no interest in producing tomatoes. It can also crack fruit, invite disease, and rot roots.
So we want the sweet spot: deep, steady water with dry-down in between.
Let’s make that simple.
Here’s the rule we live by:
Tomato plants want about 1 to 1.5 inches of water per week, total, from rain + irrigation.
That’s the starting point. Then we adjust for heat, wind, pot size, soil type, and plant size.
But the pattern stays the same:
Shallow roots make needy plants. Needy plants make sad gardeners.
A deep watering means moisture reaches 6–8 inches down, where the main roots live.
That often looks like:
Not every day, unless you’re in sand or extreme heat.
Potted tomatoes dry out fast. They can need:
In containers, the goal is still deep watering. Water until it runs out the bottom, then empty the saucer.
We can talk inches and gallons all day. The plant and soil will still tell the truth faster.
Stick your finger into the soil.
That’s it. Simple. Works.
Pick up the pot.
After a week you’ll know the difference without thinking.
Use this as a baseline, then adjust.
Small plants have smaller roots. They can’t reach deep moisture yet.
Hot weather turns tomato leaves into little solar panels. They drink more.
Soil is like a sponge, but not all sponges are equal.
Clay is tricky because it can look dry on top but be wet below. That’s where the finger test earns its keep.
Tomatoes don’t whisper. They show it.
A quick note: tomatoes can droop a bit in hot afternoon sun and perk back up at night. That’s normal. The danger sign is droop that doesn’t recover.
Overwatering is sneaky because the plant can still look “green.”
Overwatered plants also crack fruit more often, especially when the soil swings from very wet to dry and back.
That black, leathery spot on the bottom of fruit.
This is mostly about inconsistent watering, not just “low calcium.” The plant can’t move calcium well when moisture swings hard.
Fix:
Cracks often come after a dry spell, then a big rain or heavy watering.
Fix:
If we could only do one thing to make watering easier, it’s mulch.
A 2–3 inch layer of:
Mulch:
It turns “water every day” into “water every couple days.” That’s real value.
Wet leaves invite disease. Tomatoes already have enough drama.
Morning watering gives the plant a full tank before heat hits, and leaves dry fast.
A fast blast can run off. Slow soaking goes down where roots live.
Soaker hoses and drip lines are perfect. A watering can works too, if you take your time.
Tomatoes don’t want constant wet feet. They want a steady rhythm.
Deep water. Then a little dry-down. Then deep water again.
If you remember one line, make it this:
Don’t water on a schedule. Water when the soil says it’s time.
That’s how we grow plants that can handle heat, set fruit, and give us tomatoes that taste like we earned them.
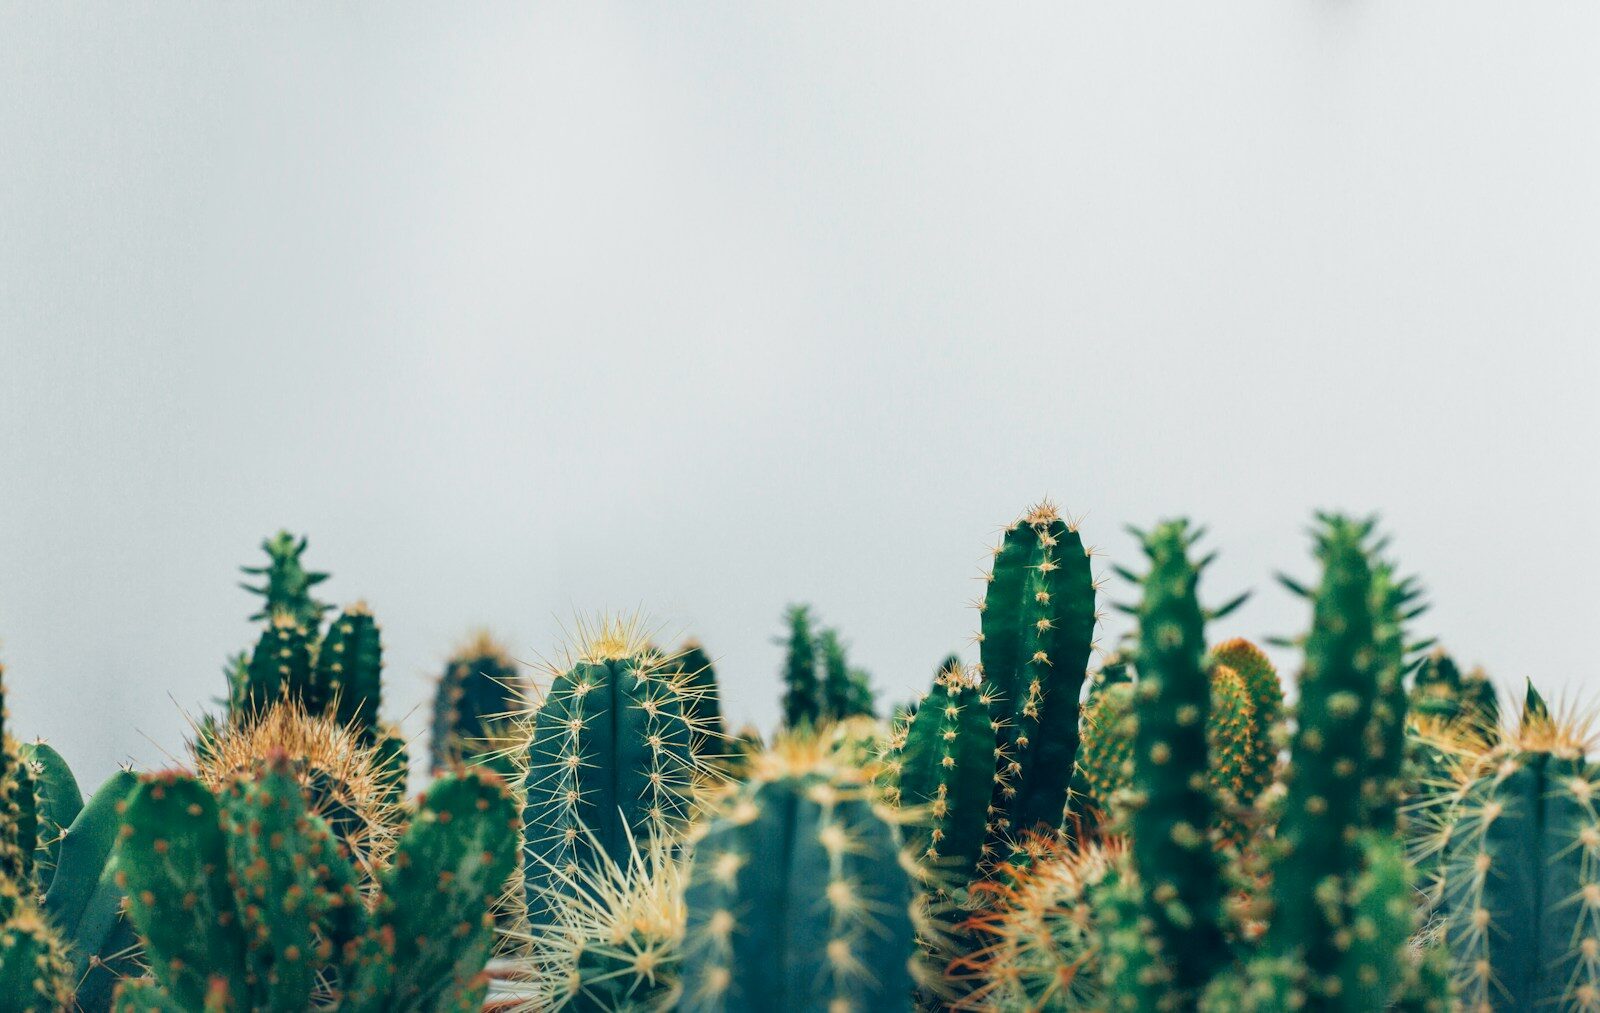
We’ve all done it. We bring home a tough little cactus in a cute pot. We set it on the windowsill. We promise we’ll “take good care of it.”
Then we water it like a houseplant.
And that, friends, is the most common mistake people make when growing cacti: too much water, too often.
Cacti are built for dry places. When we treat them like ferns, they don’t get “extra love.” They get a slow, soggy funeral.
Let’s talk about why this happens, what it looks like, and how we can get it right without turning cactus care into a science fair.
A cactus is a camel with spines.
It stores water in its body. It holds it for a long time. That’s the whole trick. In the wild, it may get a hard rain, then nothing for weeks or months. So it gulps water fast and saves it.
But here’s the part most folks miss:
Cactus roots need air as much as they need water.
When soil stays wet, roots can’t breathe. They start to rot. Once the roots rot, the cactus can’t drink even if the pot is full of water. It’s like a straw in a milkshake… but the straw has melted.
Also, most homes are not deserts. We’ve got:
Put those together, and a little watering turns into a long wet sit. That’s when rot shows up.
People hear “don’t overwater,” and they think it means “use less water.”
Not really.
A cactus can handle a deep drink. What it can’t handle is staying wet.
So the real rule is:
Water fully, then let it dry fully.
Not “a sip every few days.” That’s the houseplant habit. And it’s the habit that gets cacti in trouble.
Overwatering doesn’t always look like a plant drowning. It can look like a plant… doing nothing.
Here are common warning signs:
A healthy cactus feels firm. If it gets squishy, especially near the base, that’s a red flag.
Some types change color from stress. If the plant looks pale, tired, or “off,” check the soil.
Wrinkles can mean thirst. But if the soil is still damp and the cactus is wrinkled, roots may be failing.
If it won’t stand firm, roots may be damaged.
If the pot smells sour or swampy, believe your nose.
One more clue: rot often starts at the bottom, where you can’t see it. By the time the top looks sick, the problem may be well underway.
If we get these right, most cactus care gets easy.
Cacti want bright light. Many want direct sun.
Low light slows growth. Slow growth means the plant uses less water. So the soil stays wet longer. So roots rot faster. It’s a chain reaction.
If your cactus lives in a dim room, watering “carefully” won’t save it. It needs more light, or it needs a different plant.
Most bagged potting soil is made to hold water. That’s great for tomatoes. It’s bad for cacti.
Cactus mix is better, but even that can be heavy depending on the brand. What we want is a gritty, airy blend that dries fast.
Think “crumbly” not “muddy.”
No hole, no deal.
A cactus in a pot with no drainage is like a raincoat with no neck hole. Water has nowhere to go. It sits. It stews. Then it stinks.
Clay pots help, too, since they breathe and dry faster than plastic. Not required, but helpful.
Here’s the rule we can live by:
Not dry on top. Dry down deep.
How do we check?
Then, when it’s dry:
That’s it.
And yes, in winter, many cacti want far less water. Some want almost none. Winter is their “rest time.” They’re not growing much, so they don’t drink much.
Maybe. But wrinkles can mean two very different things:
So we don’t guess. We check the soil.
If it’s dry, water.
If it’s damp, don’t water. The fix is usually more light, warmer temps, better airflow, and better soil.
If you think you’ve overdone it, don’t panic. We’ve all drowned a cactus once. Some of us twice. (Some of us won’t admit the third one.)
Here’s what to do:
Sounds simple. It matters.
Gently take it out of the pot.
Use a clean blade. Cut back to firm, healthy tissue.
Set it in a dry spot out of harsh sun for several days. The cut needs to seal. This is how cacti heal.
Don’t water right away. Wait about a week. Let new roots start.
This feels wrong to many people. That’s the point. Cactus care is often the opposite of our “helpful” instincts.
Cacti don’t want daily attention. They want:
When we get that right, they’re easy. Almost boring. And that’s a compliment.
So if we had to sum it up in one line, the kind you can tape to the pot:
When in doubt, wait it out.
Because with cacti, the most common mistake isn’t forgetting them.
It’s remembering them too much.
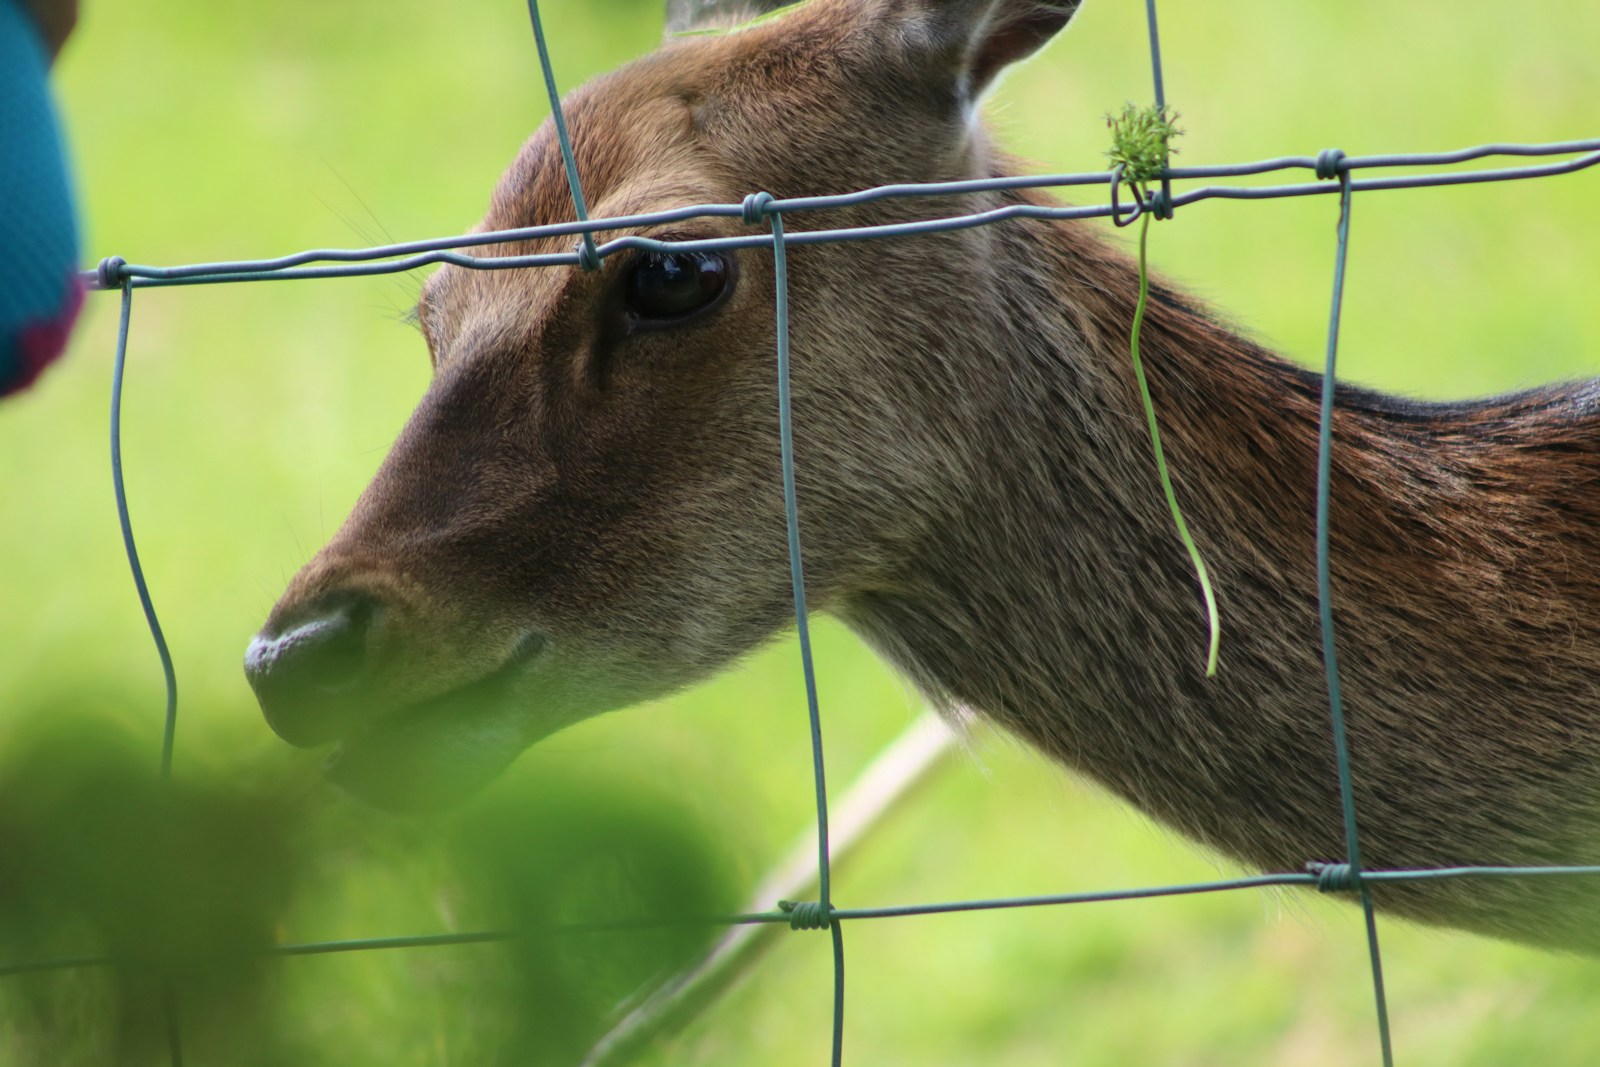
If you’ve ever found your garden plants munched on by deer, you know the frustration. Deer can be persistent and sneaky, causing havoc on your beautiful garden. But don’t worry, there are plenty of ways you can protect your plants without resorting to extreme measures. In this guide, we’ll walk you through a variety of strategies to keep deer out of your garden.
The first and most effective line of defense against deer is a good, solid barrier. Deer can jump surprisingly high, so a fence needs to be both tall and difficult for them to scale.
A fence should ideally be at least 8 feet tall, as deer are known to leap over shorter fences. If you want to make sure they can’t climb it, you can choose a mesh or netting fence that makes it difficult for deer to get a foothold. A solid wooden or metal fence can also act as a psychological deterrent, making the deer feel unsure about trying to get through it.
For an extra layer of protection, electric fences can work wonders. These fences don’t have to be a major eyesore—they can be installed discreetly around the perimeter of your garden. They provide a shock that deters deer, but it’s safe and won’t harm them in the long run.
In addition to fences, you can use other physical barriers, like netting, to protect smaller plants or individual trees. While netting isn’t as reliable as a solid fence for keeping deer out, it can help shield vulnerable plants from hungry deer.
Deer are creatures of habit, and there are certain smells and sounds they can’t stand. By using these natural deterrents, you can create an environment that makes your garden less appealing to them.
Deer have a keen sense of smell, and they dislike strong, pungent odors. Some common smells that repel deer include garlic, hot peppers, and strong animal scents like human hair or even dog fur. You can create DIY sprays by mixing ingredients like garlic, cayenne pepper, and water. Spray the mixture on the plants, and reapply after rain or heavy watering.
Another way to use scent is by spreading things like blood meal, bone meal, or even crushed mothballs around your garden. While the smell can be a bit strong for humans, deer will steer clear.
Deer are easily startled by loud sounds. A motion-activated sprinkler system, for example, can surprise a deer when it walks into your garden, causing it to flee. Wind chimes or even hanging aluminum foil strips can also create noise that deer find unpleasant.
For a more hands-on approach, you can try using a noise-making device, like a loud radio or clanging pots, although this will require regular attention to keep the deer from becoming accustomed to the sound.
One of the most effective long-term strategies to protect your garden from deer is choosing plants that they simply don’t like to eat. By selecting the right plants, you can minimize the risk of deer damage.
Deer tend to avoid plants with strong smells, tough textures, or poisonous qualities. Plants like lavender, rosemary, thyme, and sage are great for keeping deer at bay. You can also try planting plants with a strong fragrance, such as marigolds or chrysanthemums, which deer tend to avoid.
Other great deer-resistant options include ornamental grasses, ferns, and certain types of conifers, such as juniper and spruce. You can even plant herbs like mint, chives, or oregano, which have a strong smell that deer typically avoid.
However, it’s important to note that no plant is entirely deer-proof, especially if the deer are particularly hungry. If you’re dealing with a persistent deer population, consider combining this approach with other methods.
In other words, keeping deer out of your garden is a process that requires a combination of strategies. Fences are one of the most reliable solutions, but natural deterrents and careful plant selection will further enhance your chances of success. Remember, there is no one-size-fits-all solution—what works in one garden might not work in another.
Ultimately, keeping deer out of your garden requires a little creativity and persistence. With the right approach, you’ll be able to protect your plants and enjoy a lush, thriving garden all season long.
By employing a range of strategies—whether it’s building barriers, using smells and sounds, or choosing deer-resistant plants—you’re well on your way to creating a garden that deer won’t want to visit. Experiment with different methods and find the ones that work best for your unique garden. After all, the more you personalize your approach, the less likely those deer will be able to snack on your plants. Happy gardening!
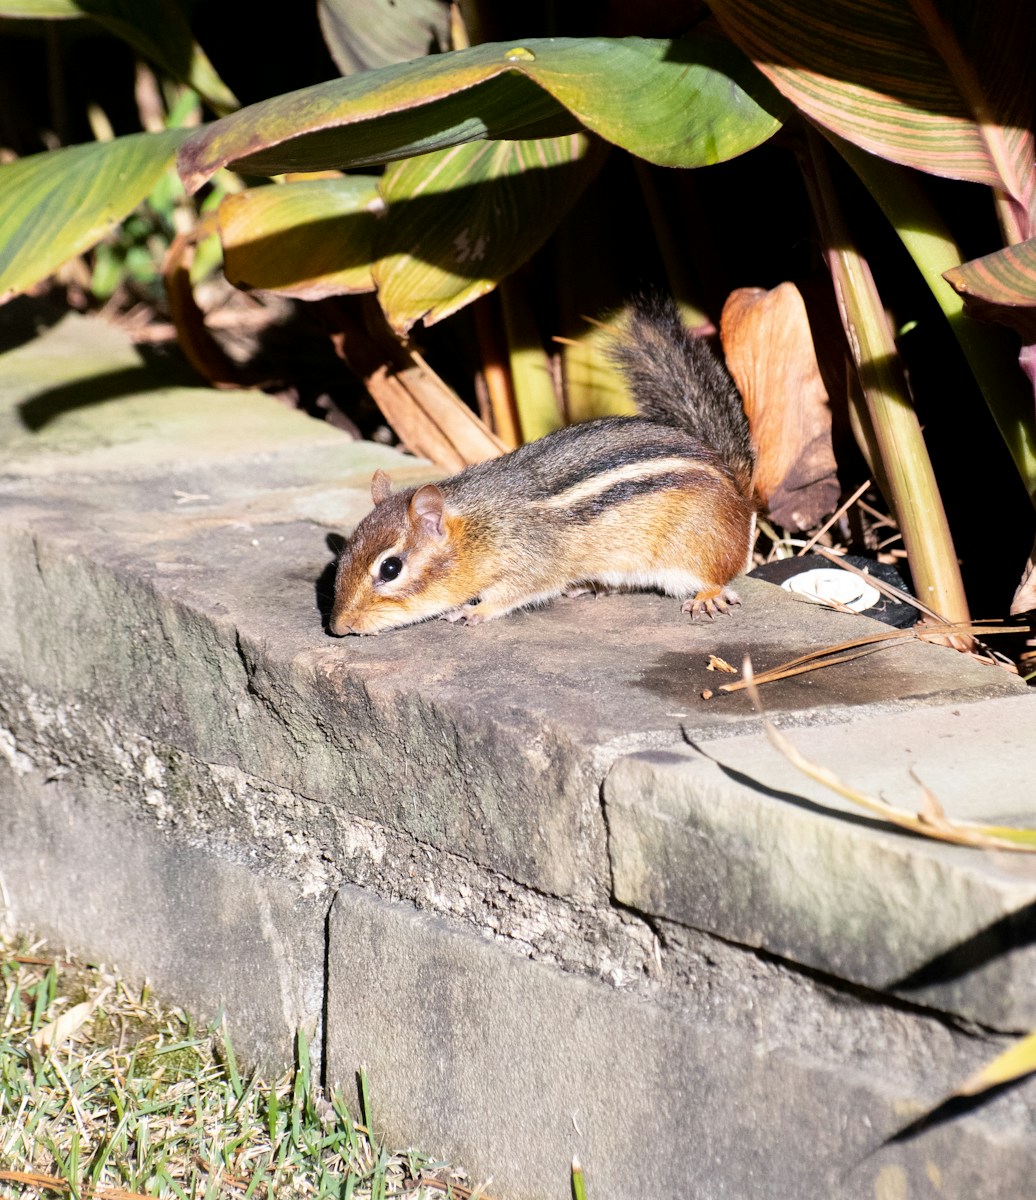
Chipmunks can be a cute addition to your garden, but they quickly become unwelcome guests when they start digging holes, eating your plants, and stealing seeds. These tiny creatures can wreak havoc on your garden, so it’s important to take steps to keep them at bay. In this guide, we’ll walk you through several effective methods to deter chipmunks and protect your garden.
The first line of defense against chipmunks is creating a physical barrier. Chipmunks are small and nimble, so your barriers need to be strong and designed to keep them from slipping through.
Start by installing a fence around your garden. While chipmunks are great climbers, they can’t easily scale smooth or high fences. A mesh fence with holes no larger than 1 inch is ideal for keeping chipmunks out. The fence should be at least 2 to 3 feet high and buried a few inches into the ground to prevent chipmunks from burrowing under it. The key is to make sure the fence is secure, with no gaps or spaces that could allow the chipmunks to sneak through.
If you’re dealing with a smaller area or raised beds, you can use wire mesh or hardware cloth to protect individual plants. Line the bottom of raised garden beds or garden paths with this mesh to keep chipmunks from burrowing underneath. Be sure to bury it a few inches into the soil to discourage digging.
For a less permanent solution, consider using garden netting over plants or around trees. Chipmunks are unlikely to climb through netting, and it’s an easy way to keep them from accessing your plants. The netting can also protect your vegetable patches and flower beds from damage.
Chipmunks have a keen sense of smell, and they’re naturally repelled by certain scents. By introducing these scents into your garden, you can keep chipmunks from coming too close.
Chipmunks dislike the smell of hot spices and herbs like cayenne pepper, garlic, and cinnamon. You can sprinkle these spices around your garden beds to create a natural barrier. To make the spice mixture more effective, mix it with water and create a spray to apply directly to plants. This way, chipmunks will be deterred from coming into contact with your plants.
Chipmunks are naturally scared of predators like foxes, hawks, and even domestic cats. You can use predator urine, which is available at most garden stores, to mimic the scent of a predator in your garden. Simply sprinkle or spray the urine around your plants or garden beds. Chipmunks will sense the danger and avoid the area.
Chipmunks are also afraid of human and pet scents. Try scattering human hair (collected from your hairbrush) or pet fur around your garden beds. As the scent degrades over time, you may need to replace it, but it can act as an effective deterrent to keep chipmunks at bay.
One of the best ways to keep chipmunks from feasting on your garden is by planting species that they find unappealing. By choosing plants that chipmunks avoid, you can minimize the damage they cause.
Chipmunks typically steer clear of plants with strong odors. Herbs like lavender, mint, rosemary, and thyme are all excellent choices for deterring chipmunks. Not only will these plants add fragrance to your garden, but they’ll also make it less inviting to chipmunks.
Chipmunks tend to avoid plants that are toxic to them. While you should always be cautious with these plants around pets and children, species like daffodils, foxglove, and marigolds can act as natural repellents to chipmunks.
Chipmunks dislike plants with spiky or prickly textures, such as holly, barberry, or thistles. Including these types of plants in your garden will make it more difficult for chipmunks to move around and nibble on other plants.
Chipmunks are more likely to invade your garden if they have a reliable food source or shelter nearby. By making your garden less attractive, you can discourage chipmunks from staying around.
If you have bird feeders, be sure to clean up any spilled seeds or leftover food that might attract chipmunks. Opt for feeders that are designed to prevent seeds from falling onto the ground, and regularly clean up any food debris.
Chipmunks are known to forage in garden beds for food, and if they find an easy meal, they’ll return. Make sure your garden is free of fallen fruit, vegetables, or nuts. Remove any plant debris or compost piles where chipmunks could seek shelter. Keeping the garden tidy will make it less appealing to these small creatures.
Chipmunks are skilled burrowers and will look for openings to build nests. Check your garden for any gaps or holes around fences, buildings, or garden structures and seal them up. This will help prevent chipmunks from finding a place to hide or nest near your garden.
If the chipmunks in your garden are persistent and all else fails, you may need to consider trapping them. There are humane traps available that allow you to catch and relocate the chipmunks without harm. These traps are designed to capture the chipmunk without injury, and once caught, you can release them in an area far from your garden.
However, it’s important to check local regulations regarding the relocation of wildlife before you attempt this. Some areas have specific rules on trapping and releasing animals.
In other words, keeping chipmunks out of your garden requires a combination of techniques that deter them naturally while protecting your plants. Fencing, using natural deterrents, planting chipmunk-resistant species, and eliminating food sources are all great ways to reduce their impact. If necessary, humane traps can help relocate persistent chipmunks.
By using these strategies, you can enjoy a chipmunk-free garden where your plants thrive. Remember, the more you personalize your approach, the less likely those chipmunks will take over your space. Happy gardening!
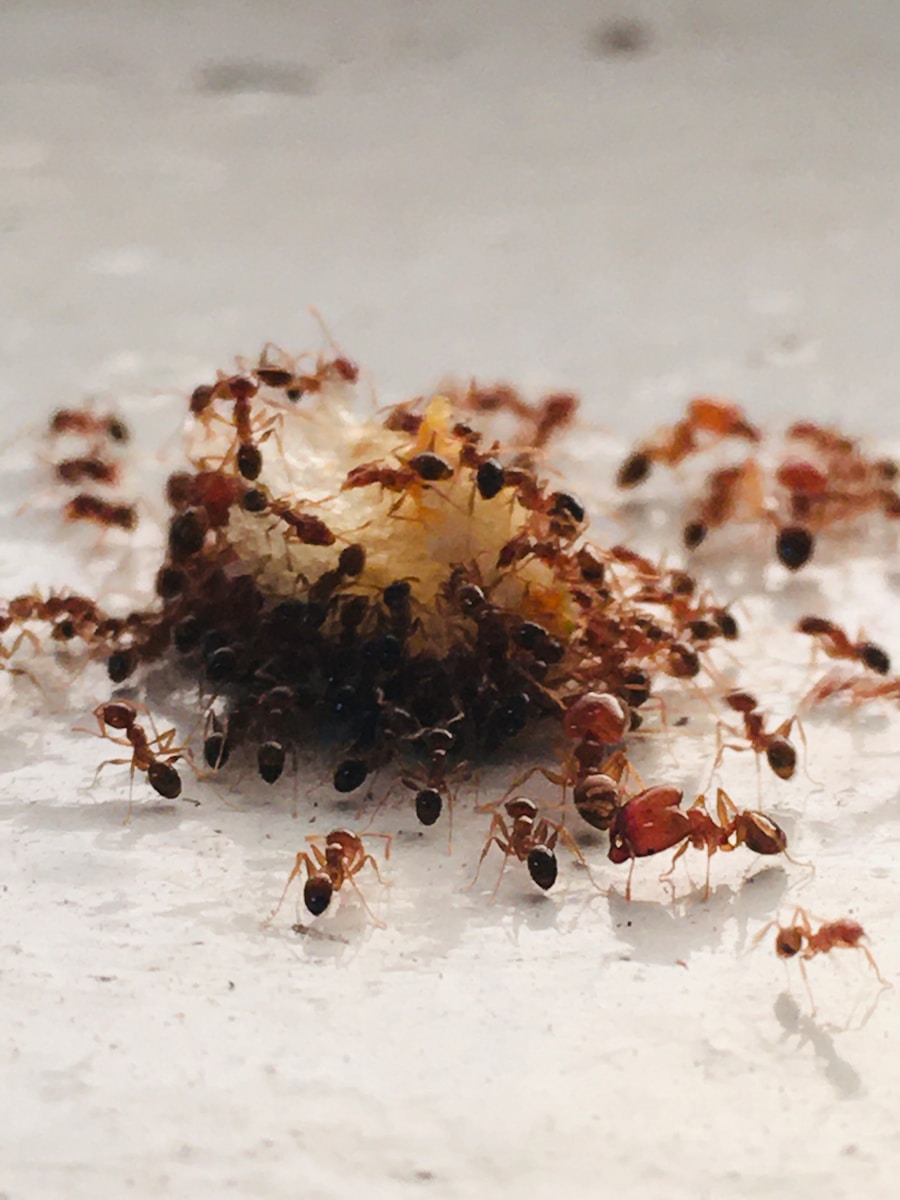
Ants are hardworking creatures that play an essential role in the ecosystem by aerating the soil and helping with the decomposition of organic matter. However, when they invade your garden, they can become a nuisance, especially if they start farming aphids, damaging your plants, or creating unsightly ant mounds. If you’re looking to keep ants out of your garden without harming the environment, this guide will walk you through effective and natural methods to get rid of ants while maintaining a healthy garden.
Before you can effectively address an ant problem, it’s important to understand why ants are attracted to your garden. Ants are typically drawn to areas where there is an easy food source, such as sugary substances or protein from other insects. They are also attracted to moist environments, so if your garden has a lot of moisture or decaying organic matter, ants will find it a perfect place to settle.
Once you know why ants are in your garden, you can take steps to eliminate the food source or the conditions that are attracting them.
Rather than turning to harmful chemicals, there are several natural remedies that you can use to deter ants from your garden. These solutions are safe for your plants, pets, and the environment, while being highly effective at keeping ants away.
Diatomaceous earth (DE) is a fine powder made from the fossilized remains of tiny aquatic organisms called diatoms. It works by dehydrating ants, causing them to die. Simply sprinkle food-grade diatomaceous earth around the perimeter of your garden or around ant mounds. Be sure to reapply after it rains or if it gets watered.
Ants dislike the strong smell of cinnamon, which makes it a great natural repellent. You can sprinkle ground cinnamon directly around your plants, in garden beds, or along ant trails. Alternatively, you can create a cinnamon spray by mixing cinnamon oil with water and spraying it onto areas where ants are active. This method disrupts the ants’ ability to navigate, making it an effective deterrent.
Vinegar is another effective ant repellent. Mix equal parts of water and white vinegar in a spray bottle and spray it directly onto ant trails, nests, or any areas where ants are actively foraging. The strong smell of vinegar disrupts the ants’ communication, which discourages them from returning. Vinegar also helps to kill ants on contact.
Ants are repelled by the strong scent of citrus. You can use fresh citrus peels by scattering them around your garden or plants. Alternatively, citrus essential oils like lemon or orange oil can be mixed with water and sprayed around ant nests or areas where ants are active. This natural repellent creates an inhospitable environment for ants, encouraging them to relocate.
Peppermint oil is another effective remedy. Mix 10-20 drops of peppermint essential oil with water in a spray bottle and spray the solution directly onto ant trails, nests, or other affected areas in your garden. Ants find peppermint oil overwhelming and will avoid it, making it an excellent natural deterrent.
Ants are often drawn to gardens because they find food sources such as sugary excretions from aphids, or sweet fruits. By removing or controlling these food sources, you can reduce the ants’ motivation to stick around.
Aphids are tiny insects that feed on plant sap and excrete honeydew, which ants love. If you notice aphids on your plants, it’s important to get rid of them. You can use natural predators like ladybugs, which feed on aphids, or spray your plants with a mixture of water and a small amount of dish soap. The soap will suffocate the aphids without harming the plants. Neem oil is another effective organic solution for controlling aphids.
Ants are attracted to sweet fruits like apples, pears, and berries. If you have fruit trees or bushes in your garden, be sure to regularly pick any ripe fruit that falls to the ground. Leftover fruit is an easy food source for ants and other pests, so maintaining a clean garden is key to discouraging ants.
If your plants produce sap or have sticky residues, clean them regularly to remove potential food sources for ants. You can use a damp cloth or mild soap solution to wipe off any sap or sticky substances from the plants.
If you’re dealing with a large infestation or the natural methods aren’t working, you may need to resort to ant baits or traps. These can be effective at targeting and eliminating the ant colony at its source.
Ant baits contain a sweet or protein-based attractant mixed with poison. When ants take the bait back to their colony, it can kill the queen and other ants, ultimately wiping out the colony. Be sure to place the baits around areas where ants are active but out of reach of pets and children.
You can create your own ant bait using simple ingredients. Mix sugar with borax, a common household cleaner, and place it in small containers around your garden. The sugar attracts the ants, and the borax poisons them when they return to their nest. This homemade bait can be effective, but remember to keep it away from areas where pets or children might access it.
Once you’ve dealt with the ants, it’s essential to take steps to prevent them from returning. Keeping your garden clean, free of food sources, and unattractive to ants will reduce the likelihood of another infestation.
Keep your garden tidy by removing any organic debris, such as fallen leaves, fruit, or branches, which can attract ants. Regularly check for signs of aphids and other pests, and control them before they become a bigger problem.
Seal any cracks or holes in garden structures, fences, or nearby buildings that ants might use to enter your garden. You can use caulk or weatherstripping to seal these entry points and prevent ants from finding their way in.
Applying a layer of mulch around your plants can help keep the soil moist, suppress weeds, and make it harder for ants to build their nests. Organic mulch, like wood chips or straw, can also provide a natural barrier that ants are less likely to burrow through.
In other words, getting rid of ants in your garden is about creating an environment that is inhospitable to them while addressing any underlying food sources. By using natural deterrents like diatomaceous earth, cinnamon, and vinegar, controlling aphids, and keeping your garden clean, you can effectively manage ant populations. If necessary, ant baits and traps can target the problem at its source.
With these strategies in place, you can enjoy a garden that is free from ants and other pests, allowing your plants to thrive and your garden to flourish. Happy gardening!