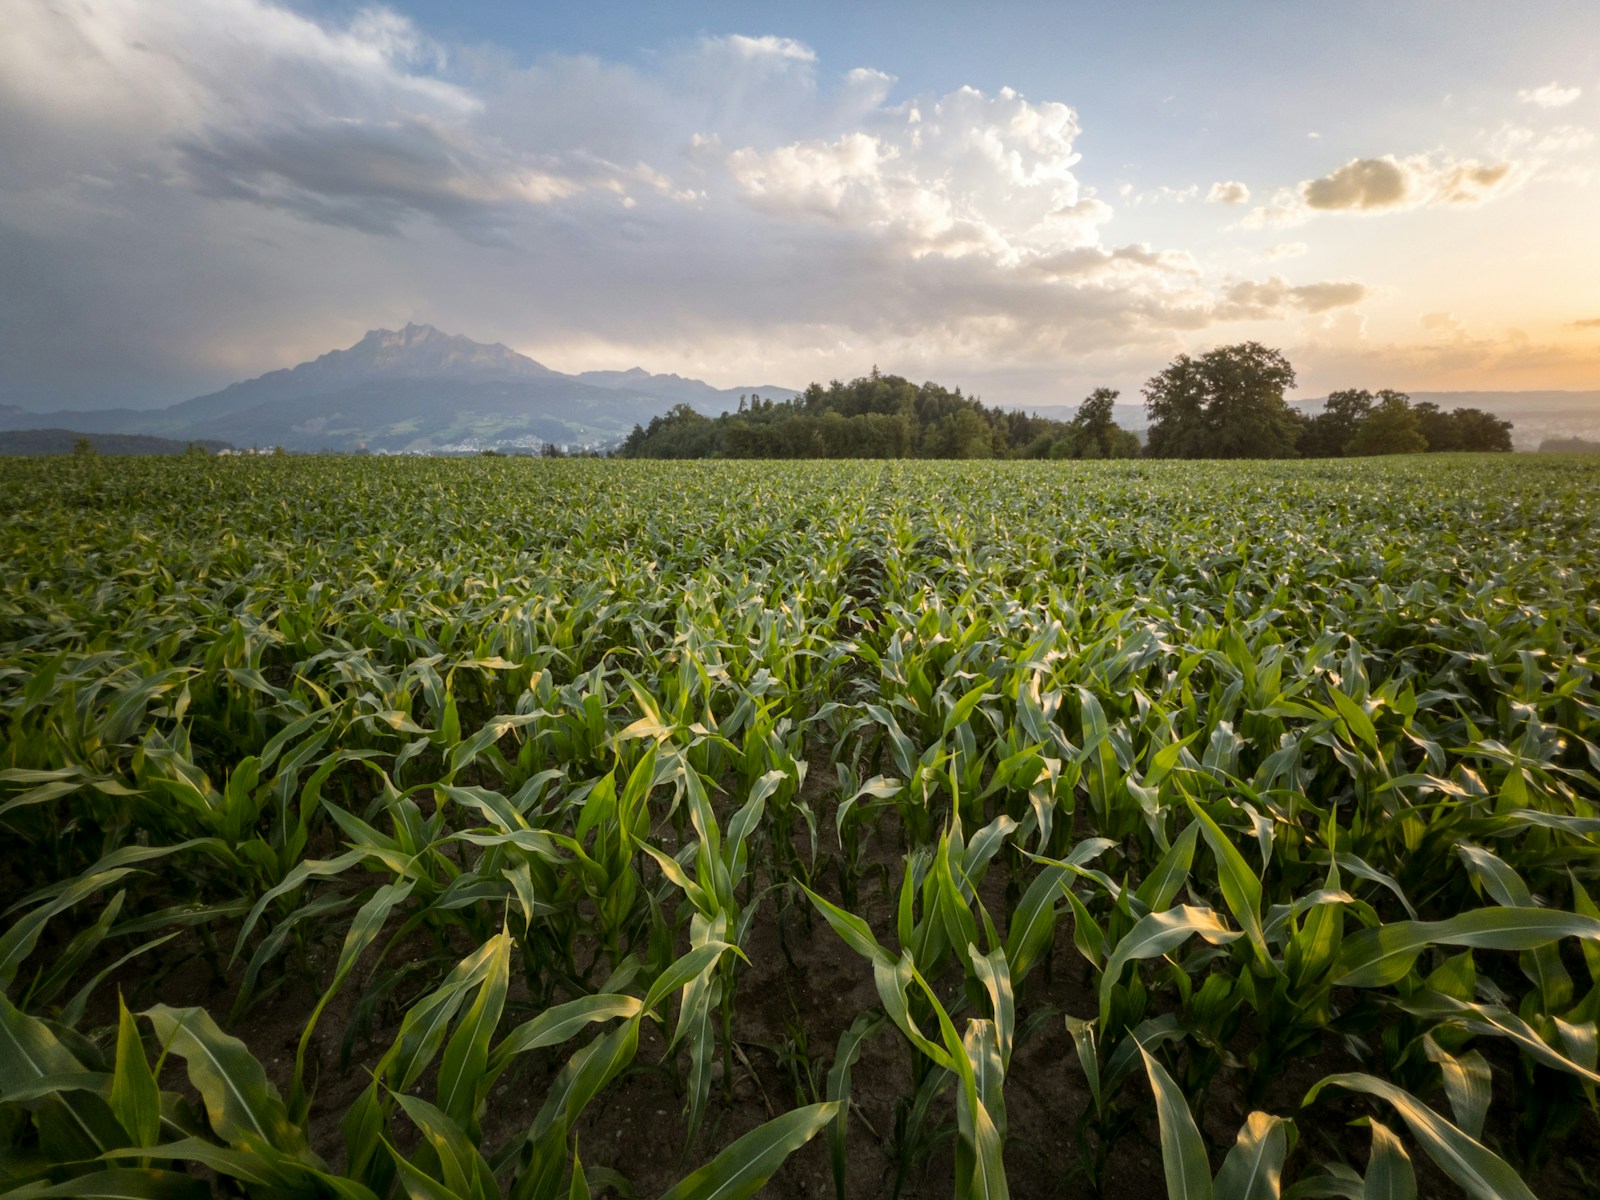
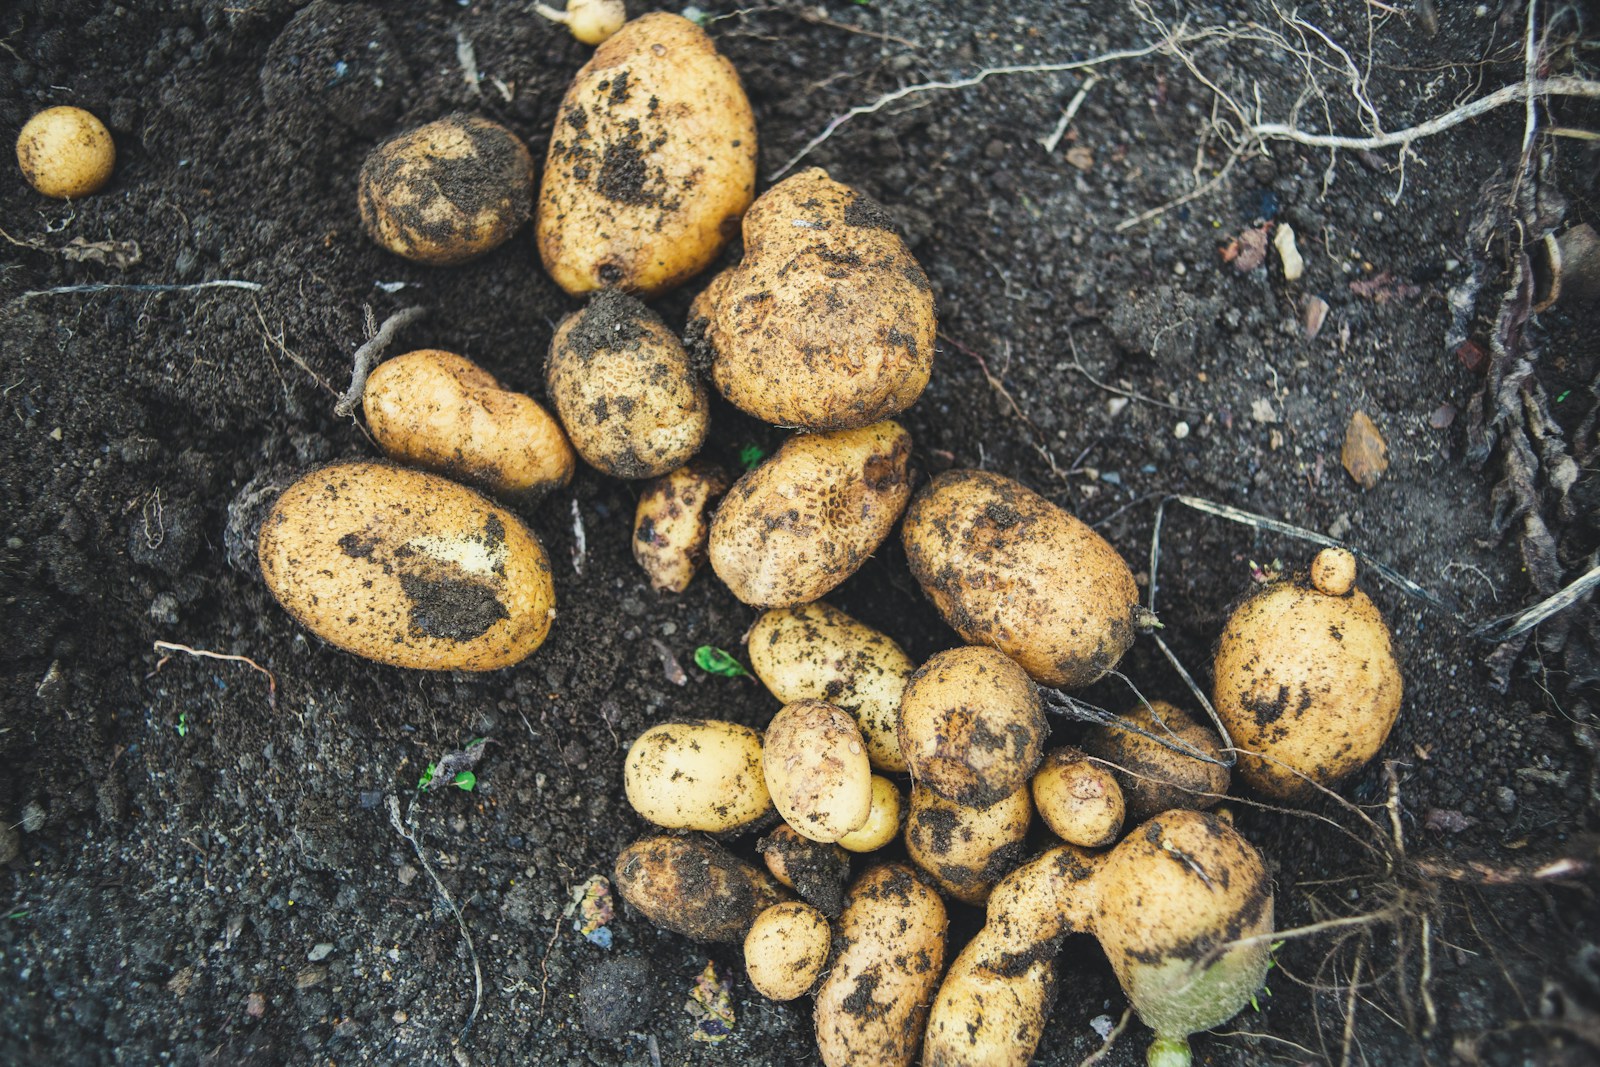
How to Store Potatoes
🥔 Start with the Right Spuds
Before we get into storage methods, here’s your golden rule: Only store healthy potatoes. Soft spots, green skin, or any sign of rot? Set those aside to use quickly (or toss if they’re past saving).
Also: Let them cure!
Curing hardens the skin and helps your potatoes last longer in storage.
How to cure potatoes:
- Brush off loose dirt (don’t wash them yet).
- Lay them in a single layer in a cool (50–60°F), dark, and well-ventilated place.
- Let them cure for about 7–14 days.
Now that they’re ready, here are your best storage options—from root cellar classics to freezer fixes.
🧺 Method #1: Storing Fresh Potatoes (Cool and Dry)
This is the most traditional—and easiest—way.
Best for: All-purpose use over the next 2–6 months
Ideal varieties: Russet, Yukon Gold, Kennebec (not baby potatoes or thin-skinned types)
How to do it:
- Keep them in a dark, cool place (ideally 38–45°F)
- Use paper bags, burlap sacks, baskets, or cardboard boxes—something breathable
- Store them in a single layer if possible, or gently stacked with airflow
- Avoid sunlight (it turns them green and toxic)
- Don’t store near onions or apples—they release gases that cause sprouting
Check weekly and remove any soft or sprouting potatoes.
❄️ Method #2: Freezing Potatoes
Wait—can you freeze potatoes? Yes! But you can’t just toss raw spuds in the freezer. They’ll turn weird and watery. You’ve got to prep them first.
Best for: Quick cooking later (soups, hash, casseroles)
Good varieties: Waxy types (like Red Norland or Yukon Gold) hold texture better
Step-by-step:
- Peel (or scrub if you’re leaving skin on).
- Cut into cubes, slices, or fries.
- Blanch in boiling water:
- Cubes: 3–5 minutes
- Slices: 2–3 minutes
- French fries: 4–6 minutes
- Cool in ice water right after blanching.
- Drain well and pat dry.
- Spread them on a baking sheet to flash-freeze (so they don’t stick together).
- Once frozen, transfer to freezer-safe bags or containers.
They’ll keep 10–12 months and are great straight from frozen—no thawing needed.
🫙 Method #3: Canning Potatoes (Pressure Only!)
If you want shelf-stable spuds, canning is a fantastic route. But remember—you must use a pressure canner, not a water bath.
Best for: Long-term storage without taking up freezer or fridge space
Best potatoes: Firm, waxy ones (they hold up better)
Here’s how:
- Peel and cube potatoes (1–2” chunks).
- Boil for 2 minutes, then drain.
- Pack into hot, sterilized jars with 1” headspace.
- Add boiling water or broth to cover.
- Remove air bubbles and adjust headspace.
- Add lids and rings (fingertip tight).
- Pressure can at 10–11 pounds:
- Pints: 35 minutes
- Quarts: 40 minutes
- Let cool, check seals, and label.
Store in a dark, cool pantry. They’ll last up to 1 year.
Use canned potatoes for soups, stews, mashes, or skillet breakfasts!
🧂 Method #4: Dehydrating Potatoes
Got a dehydrator? This method turns potatoes into lightweight, shelf-stable goodness.
Best for: Camping, food storage, homemade “instant” potatoes
Good varieties: Any firm-fleshed potato
Instructions:
- Peel and slice thin (for chips) or cube (for dices).
- Blanch:
- Slices: 4–6 minutes
- Dices: 5–7 minutes
- Dehydrate at 125–135°F:
- Chips: 6–8 hours
- Dices: 10–12 hours
- They’re ready when completely dry and brittle.
Store in airtight containers in a cool, dark, dry place. Use within 12 months.
To rehydrate: soak in hot water 15–30 minutes or add directly to soups.
🧊 Bonus Method: Mashed Potato Freezer Packs
Perfect for comfort food lovers!
How to do it:
- Make mashed potatoes like usual (but skip the butter and milk).
- Let them cool.
- Scoop into portions on a baking sheet or into silicone molds.
- Freeze, then bag up.
To serve: reheat from frozen, add butter or milk, and enjoy! Great for quick weeknight dinners.
🍽️ Tips to Keep Your Taters Happy
- No washing before storage! Moisture = mold.
- Watch for green skin. That’s solanine. It’s toxic. Cut off green areas or toss them.
- Don’t store in the fridge. It messes with the starch and makes them too sweet.
- Store in darkness. Light triggers sprouting.
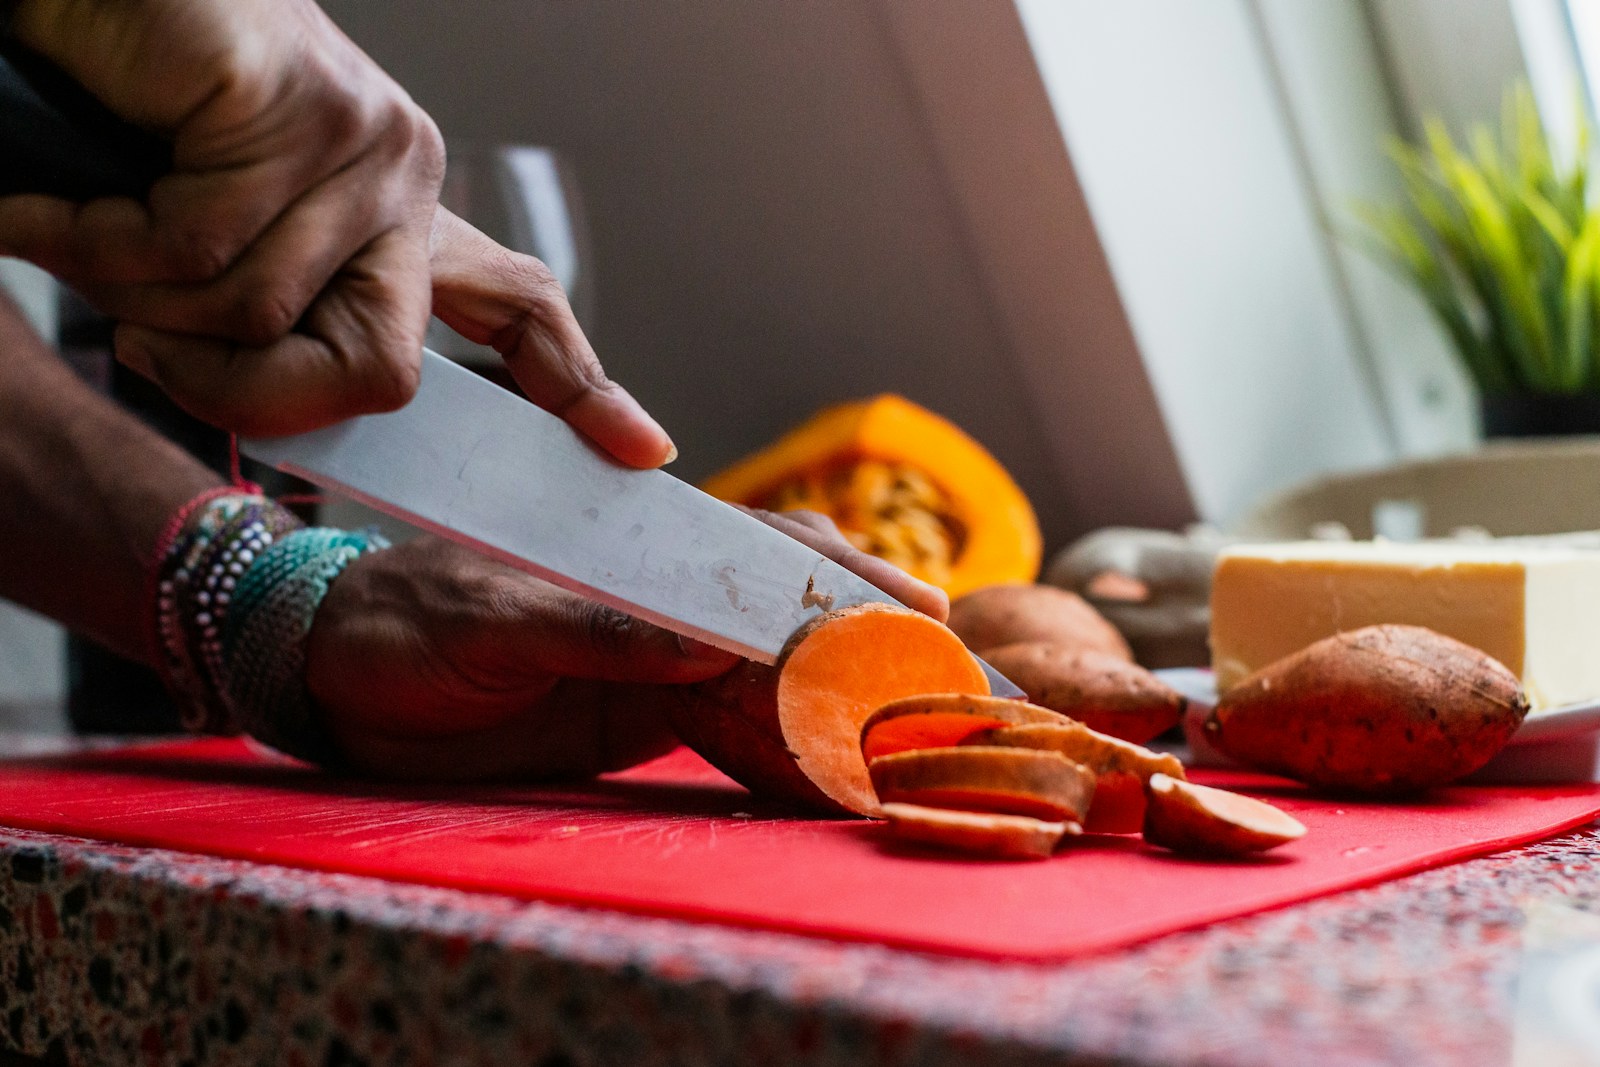
🧤 What About Sweet Potatoes?
Different story! Sweet potatoes need a warmer curing period (about 80–85°F) and prefer storage at 55–60°F. Don’t store them with regular potatoes.
🥔 Wrapping Up in a Cloud of Potato Dreams
Storing potatoes from your garden is a satisfying end to a season of growth. Whether you’re tucking them into a root cellar, freezing them for quick dinners, or canning jars of golden cubes, one thing’s clear:
You’ve grown something good.
And now, you’re preserving it with care.
So here’s to every crispy fry, creamy mash, and savory soup that’s still to come. Because garden potatoes? They’re not just food—they’re future comfort on a plate.