What to Plant in the Flower and Vegetable Garden in October in Alabama
October in Alabama: The Month the Garden Smiles Back
October in Alabama feels like the world lets out a long breath. The heat finally backs off. The air turns light and sharp. Even the sun feels polite again. We walk outside and think, Now this is more like it.
For gardeners, October is not a “wrap it up” month. It’s a start again month.
The soil still holds summer warmth. That matters. Warm soil helps seeds pop fast and helps roots grab hold. At the same time, the nights cool down and give us the weather that leafy greens, roots, and cool-season flowers love most. It’s like Alabama hands us a second spring—just with less sweat.
So let’s use it. October is the sweet spot. We can fill beds with food, tuck in herbs for fresh flavor, and plant flowers that keep the yard bright all winter. And if we plant bulbs now, we’re also writing a note to our future selves: Spring is coming. Don’t forget.
Cool-Season Vegetables to Plant in October
October is the heart of Alabama’s fall garden. Not the edge. Not the tail end. The heart.
If we plant now, we can harvest through late fall, and many crops will keep going into winter. Some will even hold until spring, depending on your spot and your weather.
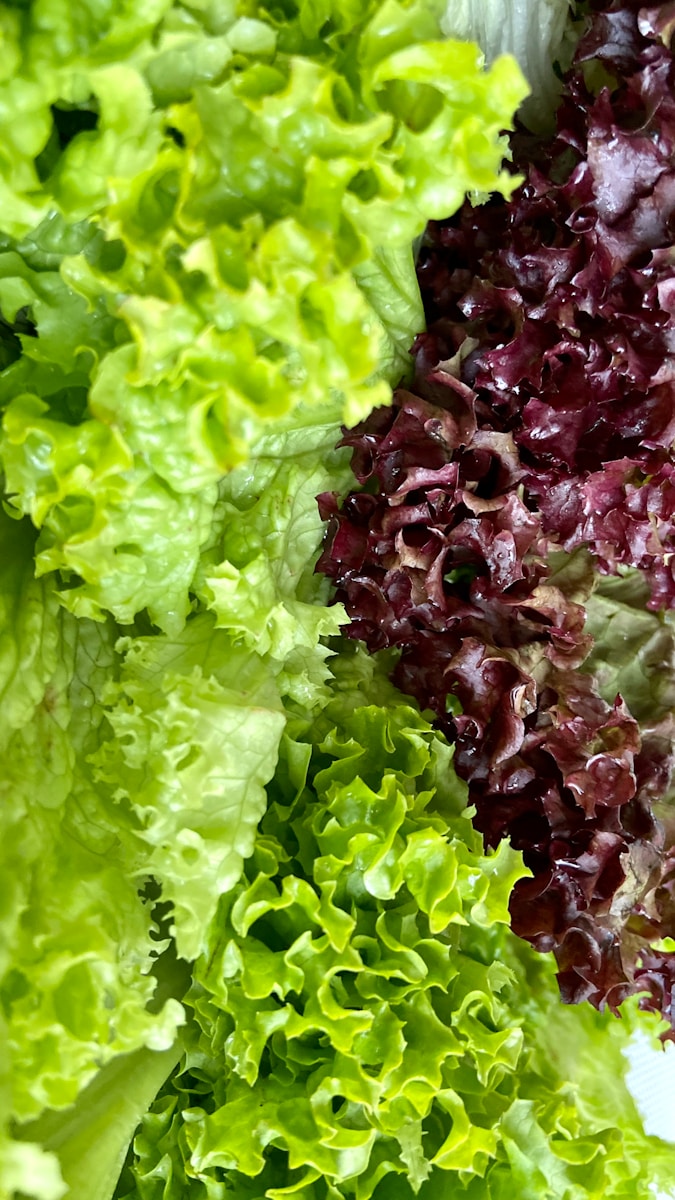
Leafy greens that love October
This is the season for greens. They grow clean. They taste better. And they don’t bolt and turn bitter the second you look away.
- Spinach – Slow at first, then steady. Sweet leaves in cool weather.
- Lettuce – Mix leaf types for quick cuts and head types for full harvests.
- Collard greens – The Alabama classic. A light frost makes them sweeter.
- Mustard greens – Fast and bold. Great for quick meals.
- Kale – Tough as nails, packed with nutrients, and keeps producing.
A little trick that feels like cheating: succession plant. Every two weeks, sow a small new patch. That way you don’t get one big wave and then nothing. You get a steady stream.
Root crops for fall and winter
Root crops are like buried treasure. They take their time, then they surprise us when we dig.
- Carrots – Cooler weather makes them sweeter. They store well right in the soil.
- Beets – You get greens and roots. Two harvests in one plant.
- Turnips – Quick-growing roots with tasty tops.
- Radishes – Fastest payoff in the garden. Some are ready in 3–4 weeks.
Roots also like loose soil. If your ground is tight, work in compost and rake it smooth. Carrots especially hate clods. They’ll twist into funny shapes like they’re trying to escape.
Other fall favorites
These are the October all-stars that set up the next season.
- Garlic – October is prime time. Plant now, harvest next summer.
- Onions – Sets or seedlings can go in for a spring harvest.
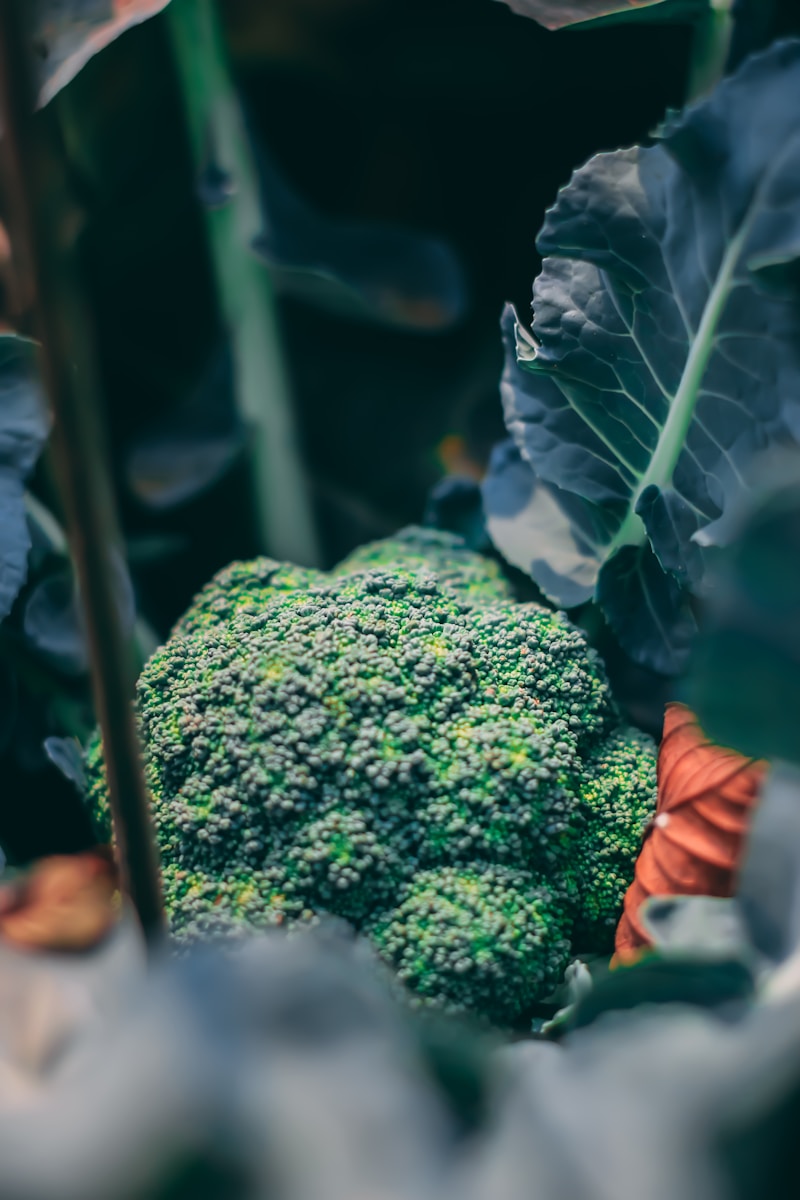
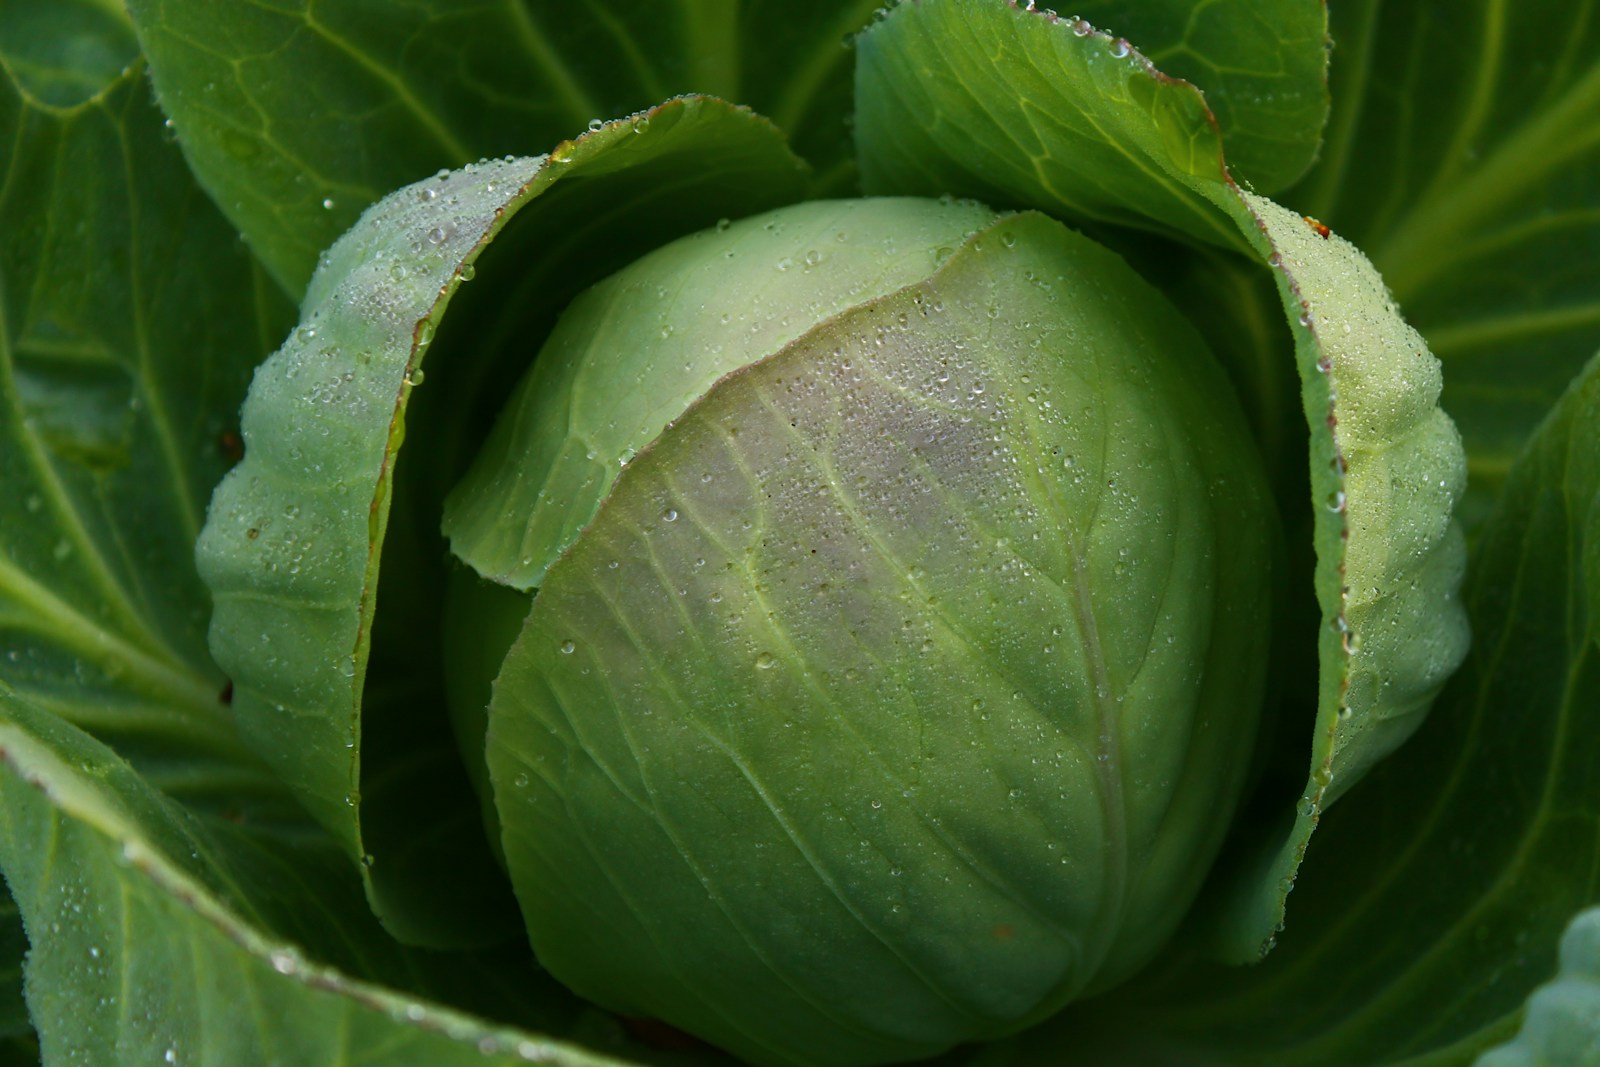
- Cabbage and broccoli – Early October is still good for transplants.
Garlic is worth a special note. It’s not a quick crop, but it’s a good one. Plant it, mulch it, forget it for a while, and then one day it becomes a big reward.
Herbs to Plant in October
Herbs don’t just add flavor. They make a garden feel alive, even in cool weather. And October is a great time to get hardy herbs settled in.
- Parsley – Loves cool weather. Keeps going when summer herbs quit.
- Cilantro – Fall is cilantro season in Alabama. Summer cilantro is just heartbreak.
- Chives – Tough perennial. Comes back year after year.
- Thyme and oregano – Perennials that do well when planted in fall.
Planting herbs now gives them time to build roots before winter. And strong roots mean better plants come spring.
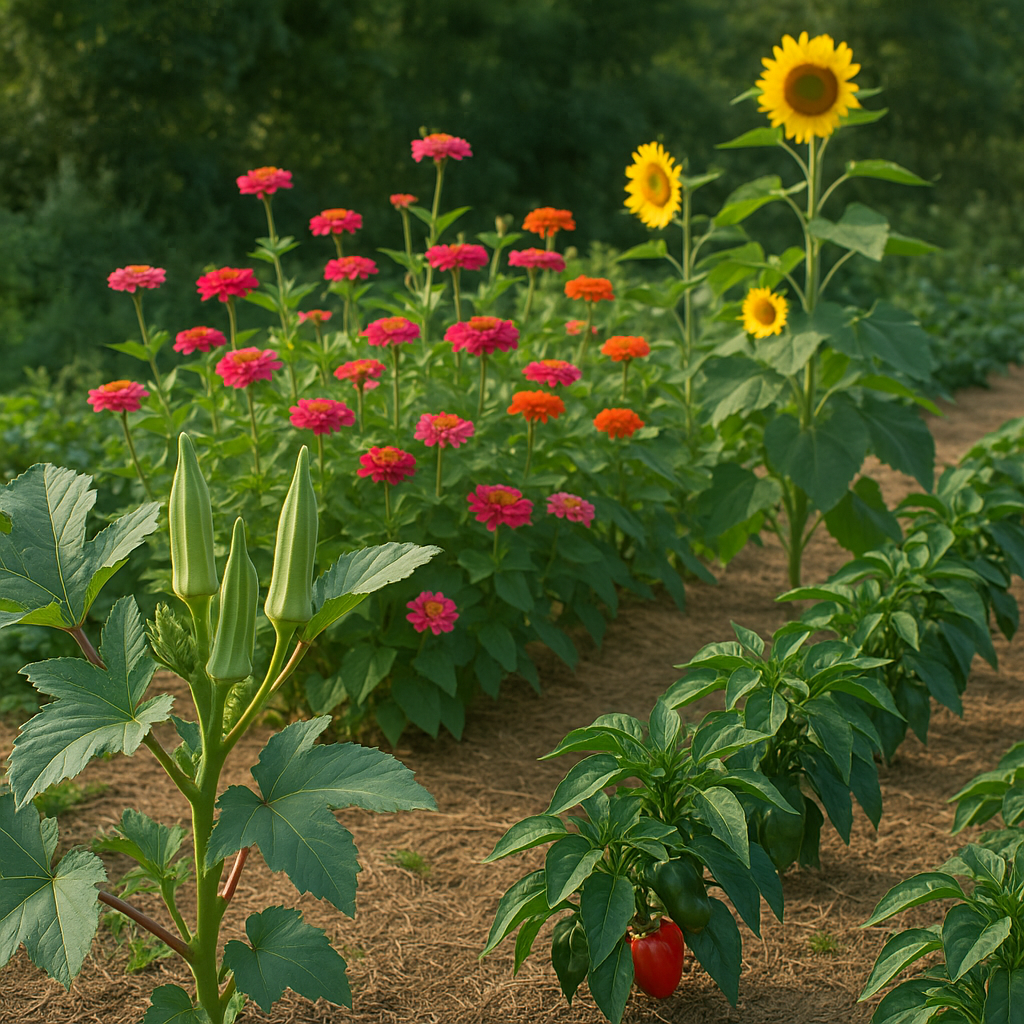
Flowers to Plant in October
October is when we can keep the garden pretty while everything else starts to fade. It’s also when we plant for spring without needing a crystal ball.
Cool-season annuals for winter color
These bring color through the cold months and make the garden feel cheerful when everything else turns brown.
- Pansies – Bright faces that laugh at frost.
- Violas – Smaller, often tougher, and they bloom like they mean it.
- Snapdragons – Great height and color. Many bounce back in spring.
- Calendula – Golden blooms that keep going until hard cold.
If you want pots that look good all winter, pansies and violas are the easiest win. Add a little ornamental kale and you’ve got a porch that looks like it tried.
Bulbs to plant for spring
Bulbs are hope you can hold in your hand. You bury them now, and they do nothing for months. Then one day, when you’ve forgotten all about them, they show up like a gift.
- Daffodils – The easiest spring bulb in Alabama. They naturalize well.
- Tulips – Possible here, but they often need chilling before planting.
- Hyacinths – Fragrant and bold in early spring.
- Crocus – Small but powerful. Often the first to bloom.
Plant bulbs in well-drained soil. If water sits there in winter, bulbs can rot. A raised spot or amended bed helps.
Perennials and shrubs
Fall planting is smart planting. The air is cool, the sun is gentle, and roots can grow without fighting heat stress.
- Daylilies – Reliable, tough, and easy.
- Irises – Great fall planting window.
- Camellias and azaleas – Alabama favorites that benefit from fall establishment.
Fall-planted perennials act like they’re resting, but they’re working underground. And roots are the real engine of the plant.
October Garden Tips That Save Headaches
October is kinder than July, but it still has surprises. Here’s how we stay ahead.
- Plant where there’s good sun. Shorter days mean light matters.
- Mulch generously. Mulch holds moisture, buffers cold snaps, and protects roots.
- Fertilize lightly. Support growth, but don’t force soft, weak leaves.
- Keep row cover handy. Cold snaps happen. A cover can save tender plants.
- Water wisely. Fall can be dry. Keep seedlings moist until established.
- Succession plant. Greens and radishes every two weeks keeps food coming.
October is not about rushing. It’s about steady progress. The garden rewards calm hands.
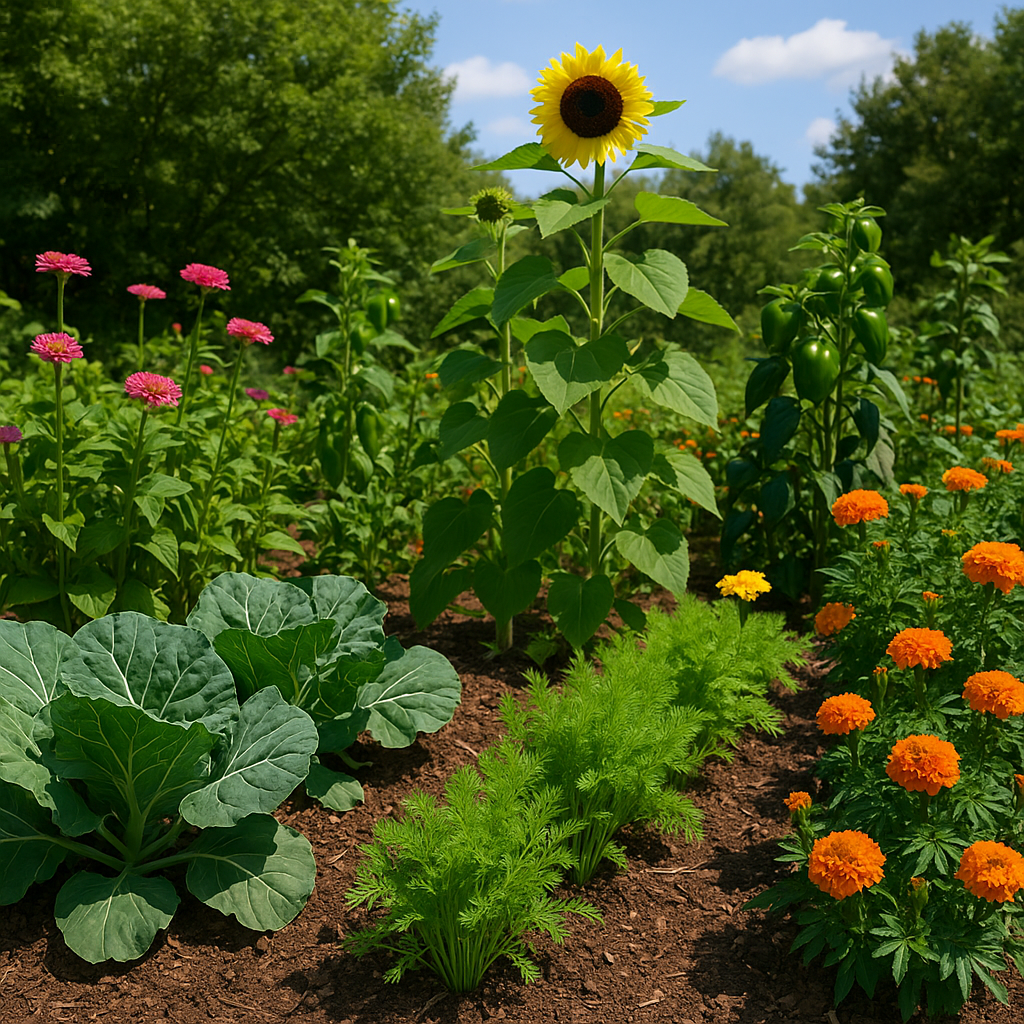
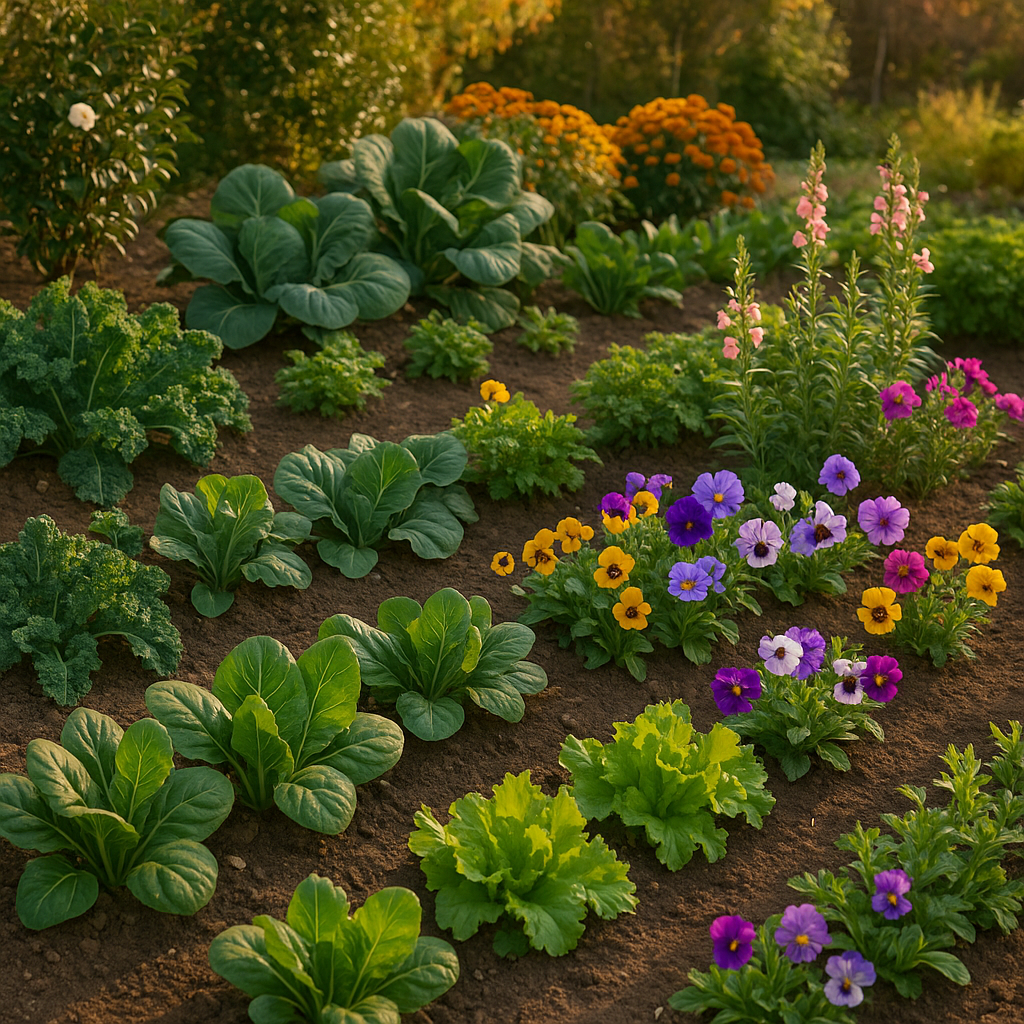
Blending Flowers and Vegetables: Pretty and Practical
One of the best fall tricks is mixing edible and ornamental plants.
Picture it:
- Kale with violas at its feet.
- Carrots bordered by pansies.
- Cilantro tucked between cabbage plants.
- Calendula sprinkled through the beds like little suns.
This isn’t just for looks. Mixed plantings can help confuse pests, improve the feel of the space, and keep pollinators visiting longer into the season.
And honestly? A garden that looks good is a garden we spend more time in. Time in the garden fixes a lot of things.
October Isn’t the End. It’s the Second Wind.
In Alabama, October is a fresh chapter.
We plant collards, turnips, and garlic—crops that taste better as the air cools. We plant pansies and snapdragons—flowers that carry color through winter. We tuck bulbs into the soil, and they wait patiently to make spring feel like a miracle.
The garden doesn’t stop when summer ends. It shifts gears. It grows quieter and steadier. And it keeps giving.
Planting Promise in October’s Glow
There’s something deeply comforting about October gardening. We’re not fighting heat anymore. We’re working with the season instead of wrestling it. The air is kind. The soil is still warm. The pace is slower.
Every seed we sow now is a small act of confidence. Every bulb we bury is a promise. Every transplant is a vote for the future.
So let’s dig into October. Let’s plant what thrives in cool days and crisp nights. And let’s enjoy that sweet spot where Alabama feels gentle—and the garden feels like home.
Planting Promise in October’s Glow