Sweet potatoes fit Alabama like a well-worn glove. They love our long, warm summers. We love how they taste in just about anything—from a weeknight skillet to a holiday casserole that makes folks act like it’s a family heirloom.
But sweet potatoes are also a little picky. Not fussy. Just specific. If we plant too early, they sulk. If the soil stays wet, they rot. If we feed them like tomatoes, they grow a jungle of vines and forget to make the good stuff underground.
Let’s keep it simple and get it right.
Sweet Potatoes vs. “Cool Season” Potatoes
Sweet potatoes are warm-season crops. They want heat. They want long days. They want soil that feels like summer, not spring pretending.
Cool-season potatoes (the Irish potato type) are the opposite. They like cool weather and get grumpy in heat. So when we talk sweet potatoes here, we’re talking planting after frost, in warm soil, for a summer-to-fall harvest.
This blog post is for the warm season type of potatoes. Check out this page for cool season potatoes.
Why We Grow Them (Besides the Taste)
Sweet potatoes pull double duty: they’re tasty and they’re good for you.
They’re packed with vitamin A (that deep orange color is doing work), plus vitamin C and fiber. They’re also steady energy—more “slow burn” than “sugar spike.” That makes them handy for folks who watch their blood sugar.
And in the garden? They’re productive. A small patch can give you a real pile of food, which feels like winning twice.
Best Varieties for Alabama
Alabama is sweet potato country, so we’ve got options. These three are safe bets:
Beauregard
This one is famous for a reason. High yield, good disease resistance, and it handles our heat well. If we had to pick one for a first-timer, this is it.
Jewel
Smooth texture, orange flesh, great baked. It’s the kind of sweet potato that makes you think, “Why don’t we eat this more often?”
Covington
Uniform shape, dependable flavor, and a strong track record in warm regions. It’s a solid choice if you like consistent results.
If you’re buying slips locally, these are also the names you’ll see most often, which makes life easier.
When to Plant Sweet Potatoes in Alabama
Here’s the big rule:
Plant after the last frost and after the soil warms.
In most of Alabama, that lines up around late April through early May. South Alabama can often plant earlier. North Alabama may need to wait a bit longer.
Sweet potatoes really start moving when soil temps stay above 65°F. If we plant into cold ground, slips sit still, roots stall, and growth gets uneven. That sets us back before we even start.
A simple way to time it
- Wait until nights stay mild
- Let the soil warm for a week or two after your last frost
- Use a soil thermometer if you want to be precise
If the soil feels cool on your bare hand in the morning, it’s not time yet.
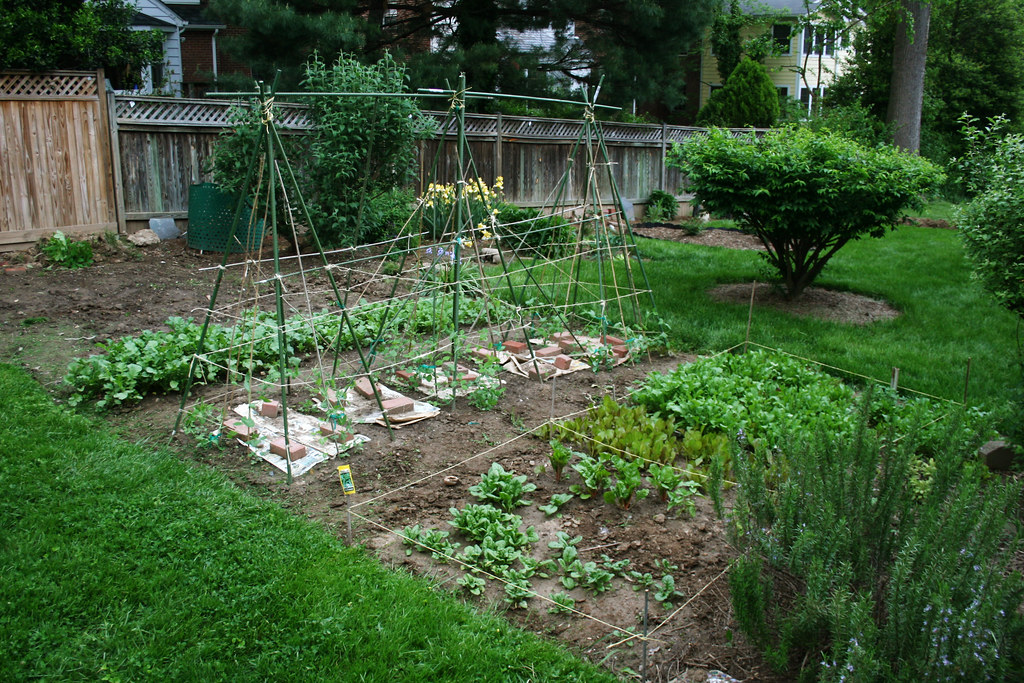
Soil Prep: How We Set the Table
Sweet potatoes want soil that drains fast and stays loose. Think sandy, crumbly, easy digging.
Aim for:
- Well-drained soil
- Slightly acidic pH (about 5.8–6.2)
- Lots of organic matter
- Loose texture down 10–12 inches
If your soil is heavy clay (and a lot of Alabama soil is), we can still grow sweet potatoes—but we need to help the soil breathe.
The easiest fix: raised beds or mounds
Raised rows warm faster and drain better. That’s a sweet potato’s love language.
- Make mounds or beds about 8–12 inches tall
- Work compost into the top layer
- Keep it fluffy, not packed tight
Fertilizer: don’t overdo it
Sweet potatoes don’t need rich, high-nitrogen soil. Too much nitrogen makes vines go wild and tubers stay small.
A light, balanced fertilizer at planting is fine. Compost is great. Just don’t dump on heavy nitrogen and expect magic.
Slips: What We Plant and Why
We don’t plant sweet potatoes from “seed” like beans. We plant slips, which are young shoots grown from a sweet potato.
You can:
- Buy slips (fast, easy, reliable)
- Grow your own slips (fun, but takes time)
If we grow our own slips
- Start 6–8 weeks before planting time
- Keep a sweet potato warm and slightly moist
- Let sprouts grow to 6–10 inches
- Twist them off and root them in water or damp mix
Buying slips is often the simplest move, especially if we want good varieties without guessing.
How to Plant Slips the Right Way
This part is simple, but spacing matters.
Planting basics
- Space slips 12–18 inches apart
- Rows 3 feet apart
- Bury the slip deep, leaving only the top leaves above soil
- Press soil gently around it so the roots touch good dirt
Sweet potato vines like to roam. Give them room, and they’ll repay you.
Traditional rows vs. raised beds
Both work. Raised beds just make things easier:
- warmer soil sooner
- better drainage
- easier digging at harvest
If your garden holds water, raised beds aren’t optional. They’re the difference between “nice harvest” and “sad mush.”
Caring for Sweet Potatoes All Summer
Sweet potatoes are tough once established, but they do best with steady care early on.
Watering
- Water deeply about once a week
- Keep soil moist the first few weeks
- After that, they handle heat better than most crops
Avoid constant soggy soil. That’s when rot shows up.
Feeding
Keep feeding light.
- A small side-dress of compost mid-season is fine
- If leaves look too pale, a mild balanced feed helps
- If vines are huge and tubers are small, we fed too much nitrogen
Weeds
Weeds steal heat and space early on. Weed the first month, then vines will shade the soil and do a lot of the work for you.
Pests to watch in Alabama
- Sweet potato weevil (a serious one)
- Wireworms
- Occasional leaf-eaters
Clean garden habits help a lot:
- Rotate crops (don’t plant sweet potatoes in the same spot every year)
- Remove old plant trash
- Don’t leave damaged tubers in the soil
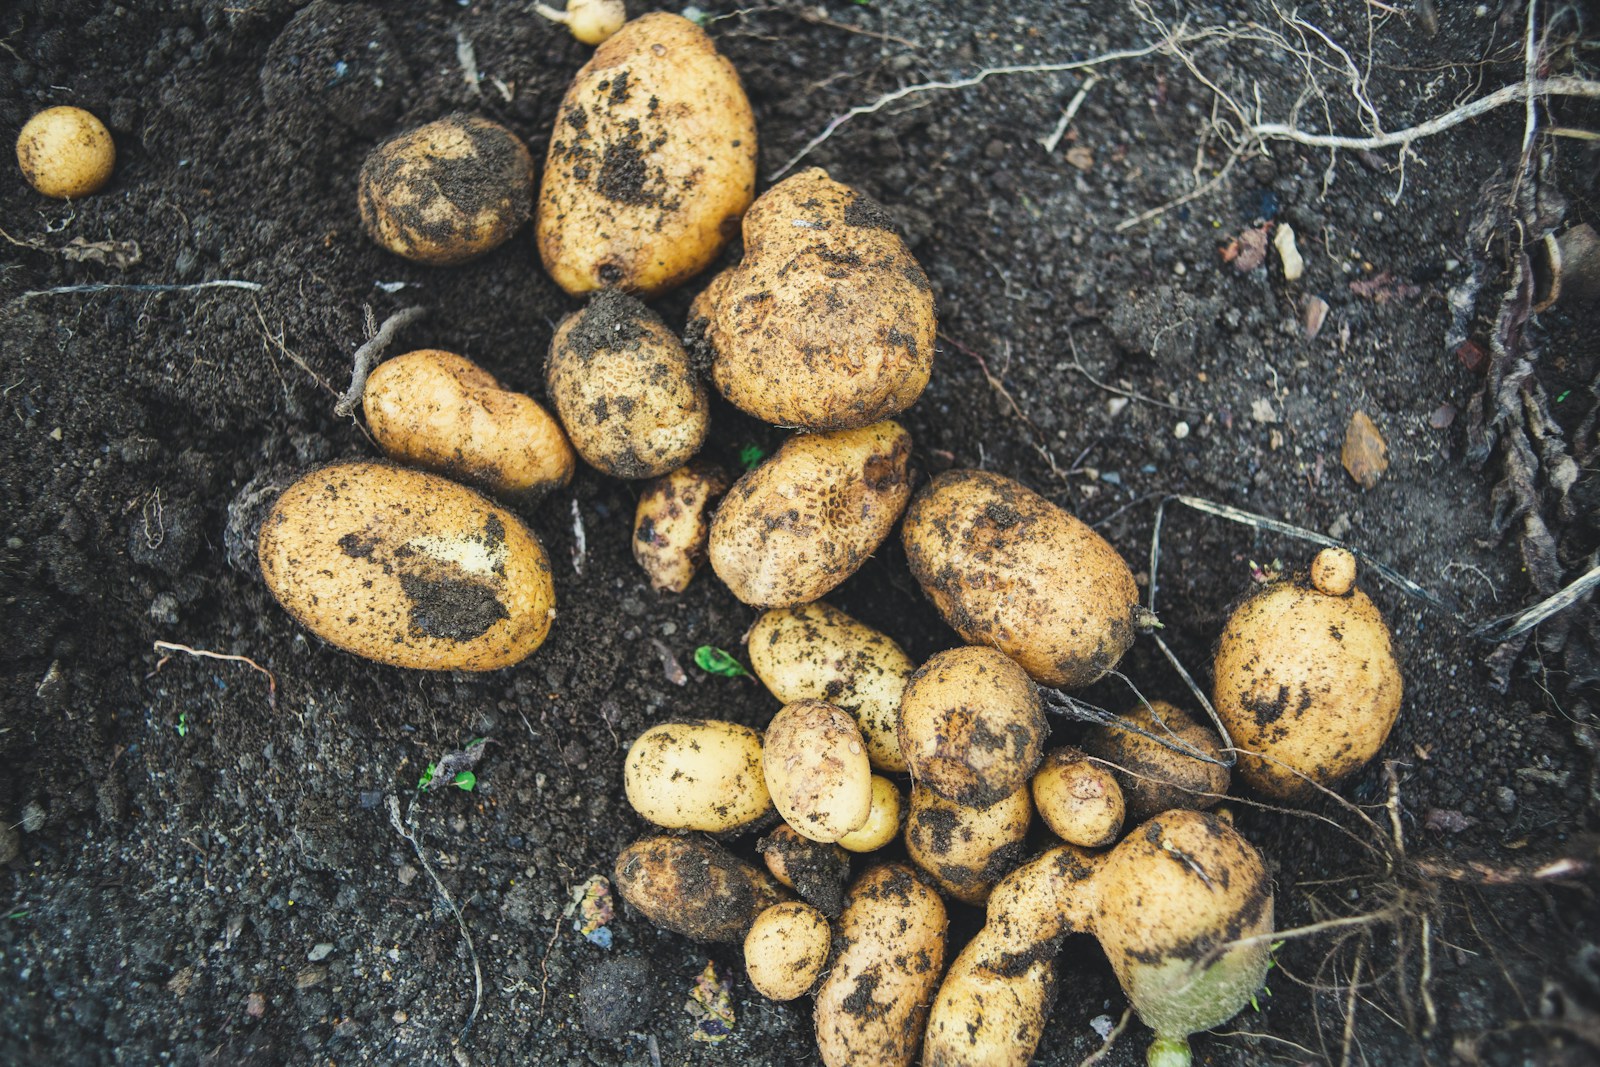
Harvest Time: When to Dig
Most sweet potatoes are ready 90–120 days after planting. You’ll know you’re close when:
- vines slow down
- leaves start yellowing
- nights begin cooling off
Don’t wait for a hard frost. Cold can damage the roots fast.
How to dig without heartbreak
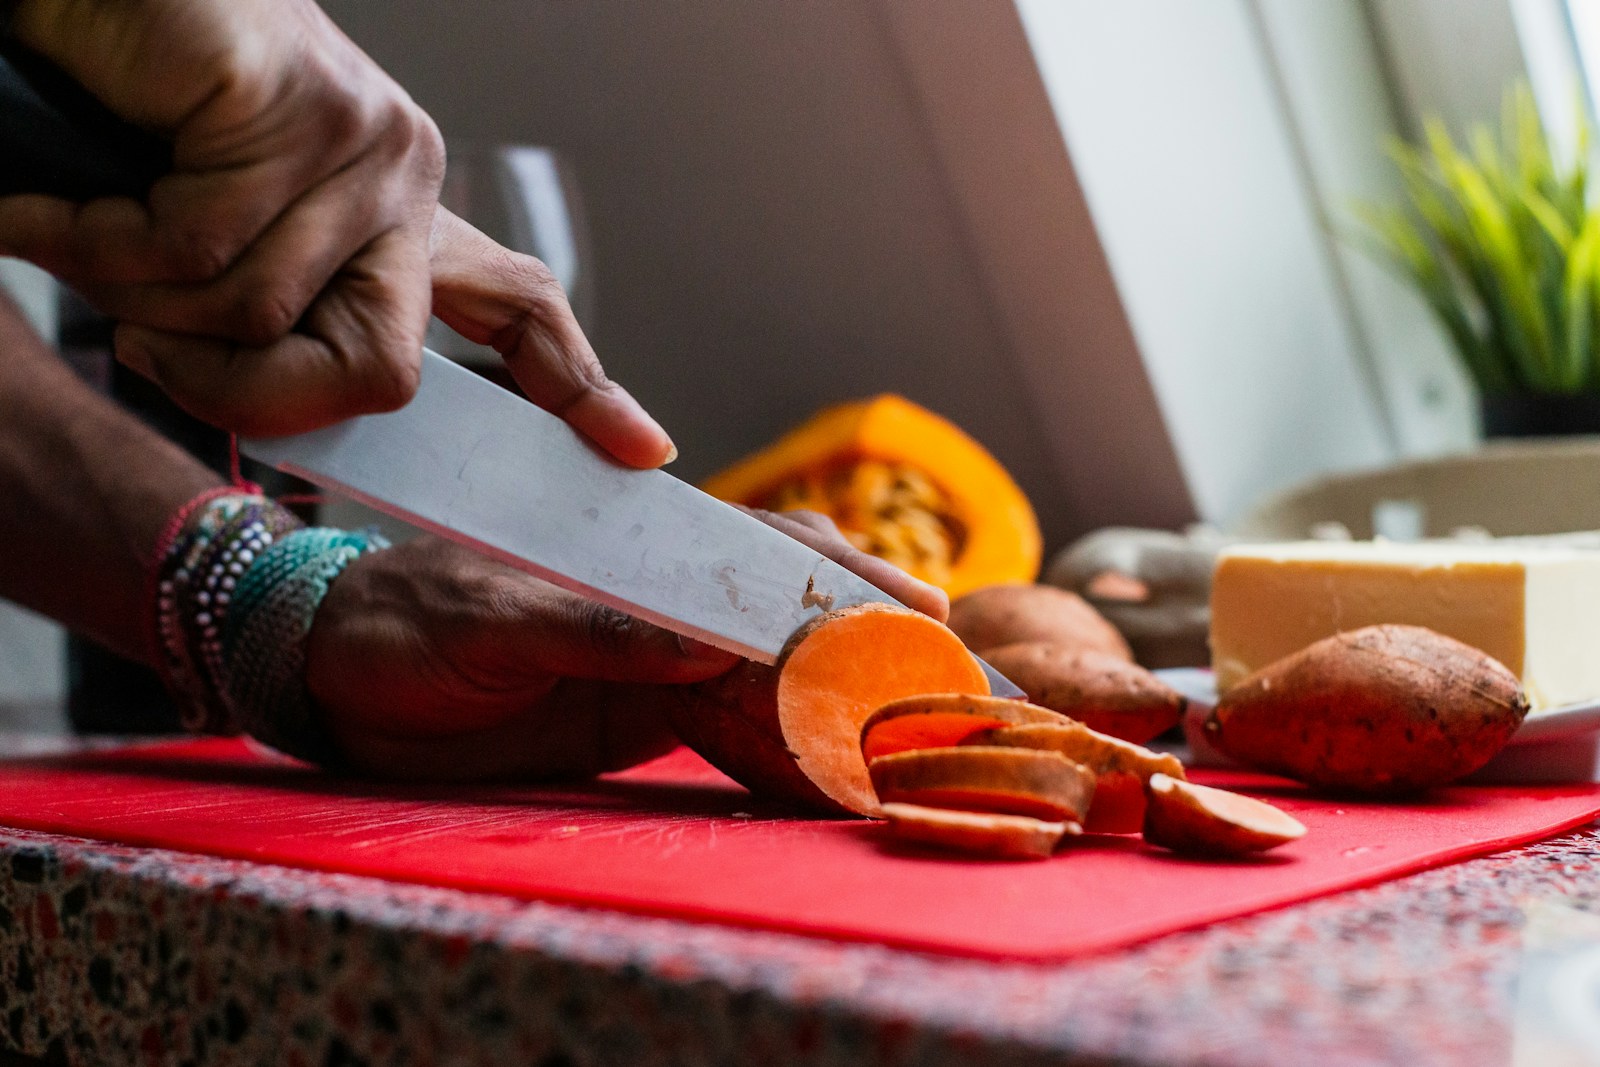
Sweet potatoes bruise easy. Use a garden fork and start digging well away from the main stem. Loosen soil, then lift carefully.
If we slice them with a shovel, they’ll still taste fine—but they won’t store as long.
Curing and Storage: The Step People Skip (And Regret)
Fresh-dug sweet potatoes aren’t at their best yet. Curing turns starch into sugar and heals small cuts.
Curing basics
- About 85°F
- High humidity
- 7–10 days
A warm garage, shed, or enclosed porch can work if it stays warm. Lay them out in a single layer. Don’t wash them.
Storage after curing
- Cool, dark, dry place
- Around 55–60°F is ideal
- Don’t refrigerate (it hurts flavor and texture)
Stored right, they can last for months. That’s garden gold.
The Patch Plan That Usually Wins
If we want the “easy win” version, here it is:
- Plant slips late April to early May (when soil is warm)
- Use raised beds or mounds if drainage is iffy
- Feed lightly, water weekly early on
- Dig before cold nights get serious
- Cure, then store cool and dark
Sweet potatoes don’t ask for perfection. They ask for warmth, loose soil, and a little patience.
A Good Harvest Feels Like a Small Miracle
There’s something honest about digging sweet potatoes. You spend all summer looking at vines and guessing. Then one day you lift the soil and—well—there it is. Hidden work. Real food. A quiet payoff.
So let’s plant them when the ground is ready, not when we’re impatient. Let’s keep the soil loose, the water steady, and the fertilizer sensible. Do that, and Alabama will do the rest.