
Muscadine jelly carries the flavor of late summer in one clear, jewel-toned jar. It is bold, floral, and unmistakably Southern. The vines may be generous, but jelly requires a little discipline: just-ripe fruit, patiently strained juice, a hard boil, and jars processed for the correct elevation.
This method follows the tested National Center for Home Food Preservation recipe for muscadine or scuppernong jelly without added pectin. Do not change the juice-to-sugar ratio or double the batch. Jelly chemistry is less forgiving than a pot of fruit sauce, and canning safety depends on using a tested process.
Why Just-Ripe Muscadines Matter
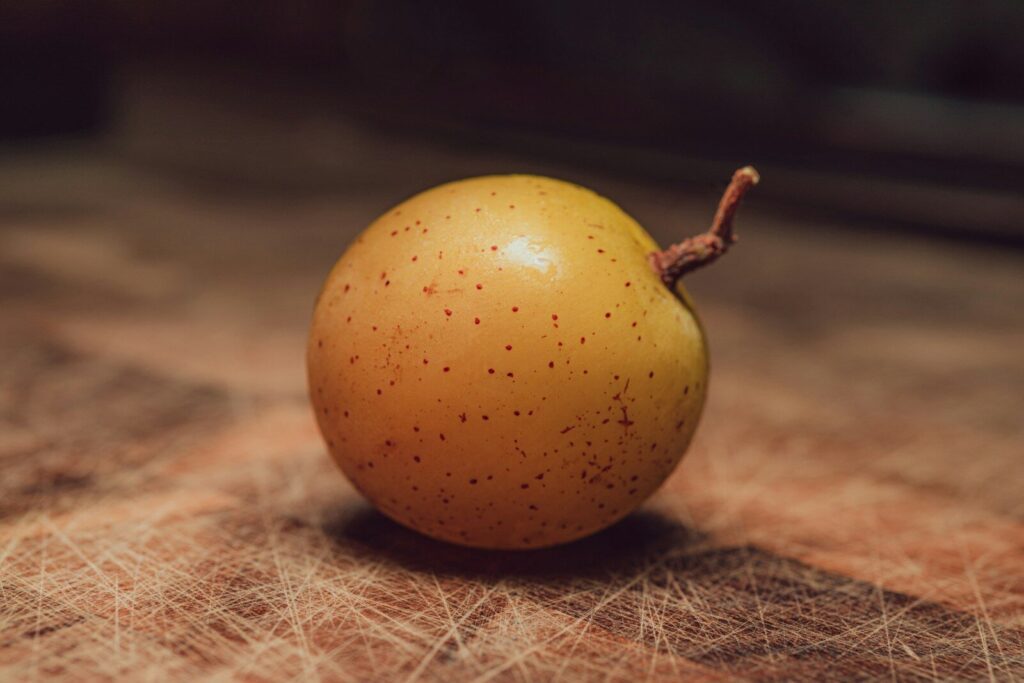
Fruit maturity affects natural pectin. Very ripe muscadines bring strong flavor but less pectin, which can leave jelly soft. Choose sound grapes at the just-ripe stage, with full color and flavor but before they become overripe or fermented.
Sort carefully. Remove stems, leaves, shriveled fruit, moldy berries, and insect-damaged grapes. Wash under cool running water and drain.
Bronze scuppernongs and dark muscadines both work. Color and flavor will reflect the variety.
Tested Ingredient List
- 4 cups prepared muscadine or scuppernong juice
- 3 cups granulated sugar
The expected yield is 3 or 4 half-pint jars. Prepare four jars and keep a small clean container nearby in case the final amount does not fill the last jar. A partially filled jar should be refrigerated rather than processed as shelf-stable jelly.
Measure accurately. Do not reduce the sugar, add extra juice, or make a double batch in one pot. For a reduced-sugar product, choose a separate tested formula designed for low-sugar pectin.
Prepare the Juice the Day Before
Place washed muscadines in a heavy pot and crush them to release juice. Heat the fruit without adding water. Bring it to a boil, then simmer for about 10 minutes, stirring constantly so the thick skins and pulp do not scorch.
Press the hot fruit to extract juice. A food mill, fruit press, or sturdy colander can help with the first extraction. Transfer the cooled juice to clean glass containers and refrigerate it overnight.
The next day, strain the cold juice through a damp jelly bag or several layers of cheesecloth. Let gravity work. Squeezing the bag forces pulp through and produces cloudy jelly. Clarity is worth the wait.
Prepare Canner, Jars, and Equipment
Set up a boiling-water canner with a rack. Use half-pint or pint canning jars free of chips and cracks, new flat lids, and clean bands. The water must cover filled jars by at least 1 to 2 inches.
The tested jelly process is five minutes at elevations up to 1,000 feet, which means jars should be sterilized before filling. A 10-minute process with clean hot jars is an approved alternative at that elevation. Above 1,000 feet, follow the longer process time in the tested elevation table.
Use a Wide Pot With Plenty of Headroom
Jelly foams during a rapid boil, so choose a wide pot with ample headroom.
Measure exactly 4 cups of strained juice into the pot. Bring it to a boil, then add 3 cups sugar, stirring until completely dissolved.
Once the sugar dissolves, cook rapidly over high heat. Stir enough to prevent scorching, but do not reduce the boil to a gentle simmer. The mixture must reach a true jelling point.
Know the Jelling Point
The tested temperature target is 8 degrees Fahrenheit above the boiling point of water at your location. Because water boils at lower temperatures as elevation increases, determine the local boiling point with an accurate thermometer and add eight degrees.
You can also use the sheet test. Lift a small amount of jelly on a cool metal spoon, hold it above the pot, and let it flow from the edge. Early in cooking, drops run separately. Near the jelling point, the syrup joins into a sheet or flake that breaks from the spoon’s edge.
Remove the pot from heat as soon as the setting point is reached. Overcooking can create a tough jelly, darken flavor, or reduce yield. Skim foam quickly with a spoon.
Fill Hot Jars Promptly
Ladle the hot jelly into hot prepared jars, leaving ¼ inch of headspace. Jelly sets quickly, so work steadily while keeping jars hot.
Wipe rims with a clean damp paper towel. Center lids and tighten bands fingertip-tight. Place each jar on the canner rack as it is filled.
Do not scrape thick residue from the pot into the jars. Put it in a dish for the refrigerator and treat it as the cook’s sample.
Process for Elevation
Lower the rack into vigorously boiling water and confirm jars are adequately covered. Put on the lid. When the water returns to a full boil, start the timer.
- At 0 to 1,000 feet: process half-pints or pints for 5 minutes when jars were presterilized, or use the approved 10-minute process with clean hot jars.
- At 1,001 to 6,000 feet: process for 10 minutes.
- Above 6,000 feet: process for 15 minutes.
Maintain boiling for the full process. If the boil stops, bring it back and restart the timing from the beginning.
Cool Before Judging the Set
After processing, turn off the heat, remove the lid away from your face, and let the jars settle briefly. Lift them upright and place them on a towel, leaving space between jars. Do not tighten bands, tilt jars, or press lids while they cool.
Wait 12 to 24 hours before checking seals. Remove bands and test the lids. Refrigerate an unsealed jar and use it first, or reprocess it within 24 hours using a new lid and the complete tested process.
Jelly may take a day or longer to reach its final set. Resist moving or shaking jars to test it. Label sealed jars and store them without bands in a cool, dark, dry place.
If the Jelly Is Soft
A soft set may result from overripe fruit, inaccurate measuring, a doubled batch, insufficient cooking, or removing the pot before the jelling point. Give the jars time before deciding.
Soft jelly is still useful as a pancake syrup, cake glaze, yogurt topping, or sauce base if the jars sealed and were processed correctly. Remaking jelly requires a tested remake procedure; do not simply reopen jars, boil longer, and guess.
Serving the Finished Jelly
Beyond biscuits and toast, muscadine jelly works with sharp cheddar, cornbread, roasted meats, and vinaigrettes. If you want another tested Southern canning project, try our old-fashioned fig preserves. Add other flavors only after opening the safely canned jar.
Patience Makes the Clearer Jar
The finest muscadine jelly is not rushed. Use just-ripe fruit, cook the grapes without added water, chill the juice overnight, and let it drip without squeezing. Then measure precisely, boil to the true jelling point, and process for your elevation. The method is simple, but every small act of patience shows in the clear color and clean Southern flavor.